


How to create tables in Word?
- To start we need to open ours program Word on the computer.
- In the tab "Insert" let's look for the option "Table" to be able to create them.
- Within this option we can find how to create our table and with how many cells we need.
- From this menu we can view the tables with their cells and they can also preview them on the sheet, if this method is to your liking you can only use it by checking the cells you need and you will already have it in your Word sheet.
Alternative methods for creating and editing tables in Word
- Another important way to create tables is to insert again "Insert" e "Table", there we find the option "Insert table" which allows us to customize by number of columns, rows, row width and more, is ideal for making large tables in Word.
- "Draw tables" a more "homemade" method to make them since with a tool like a pencil we will draw neatly each column, row of our table, thus being able to customize it to our liking.
- You can insert and use an Excel spreadsheet in the options "Table" e "Excel Sheets".
- As a last option and not least, we can use the button "Table" and in the section "Quick tabelle".
- Inside them it is possible to select from the menu that displays an option among the different ones, they are tables already generated to carry out different projects such as; predefined calendars.
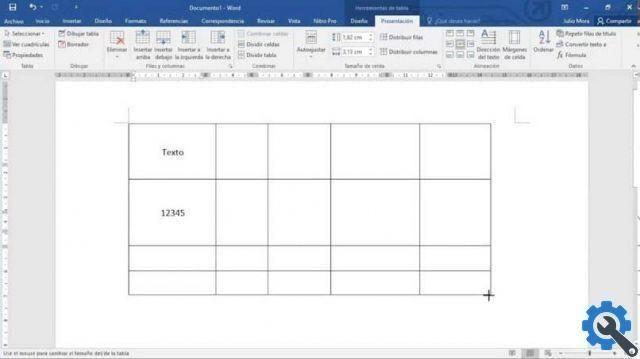
How to edit and edit tables in Word
We can modify and edit tables in Word to change their size, change or remove any row, cell or column from place, insert more cells or rows if maybe we are missing them.
- Let's enter the card "Presentation".
- A menu appears in which we will find several options to complete our table.
- Selecting each cell is not impossible, if you want to change it you can just click the option "Select" and in the menu that appears we can choose what to select, it can be a cell, a complete row and in it we can delete or copy to insert a new one.
- Sometimes the tables that we download from the internet and want to copy so that it exists in our document have no borders or rows or columns visible when we paste into our document.
- In a case like this, we can enter "Presentation" and then «View grid» to enter to view the borders, cells and rows of our copied table. But these will only be displayed in an "illustrative" way so that they are displayed permanently we have to go to the tab "Design".
- Inside we find the option "Borders"We select the edges we want to see within our invisible grid.
- So when we do, when we go back to the menu "Presentation" and select the option "See grid", the new grid we created that we copied onto will appear.

With these steps we can create tables very easily and in a few steps, a complete guide on how to perform each point from inserting a table already created and downloaded from the Internet to creating a table from scratch with Word, Or otherwise, how to remove formatting from tables and texts in word.
There are many options and possibilities in Word that we can introduce you in every article about this amazing program, stay tuned for new articles with more step by step on how to hide or remove table borders in Word and its tools that will help you manage the program like a pro.


