


Advances in technology have left huge achievements as well a very positive impact on the world of design and layout thanks to the powerful programs that have been developed in recent times.
While Adobe has been at the top when it comes to these types of programs, there is also one set of tools who strive to be equally or more important and used globally.
CorelDRAW to design
Within the entire suite of tools that CorelDRAW Graphic Suite can offer, one program that made a difference for creating digital content was CorelDRAW, officially launched in January 1989.
With a large, interesting and important update history this time around you will explore some of the tools necessary to practice creating your projects.
Draw or create a flower
Although you may read on many other sites that this program is on par with Photoshop, the truth is that CorelDRAW is not a photo editing program, but an application for creating Vector graphics.
So instead of changing the brightness, contrast and intensity of a flower photo, you can create your own. To do this, follow these instructions:
- Use the object tools to create the shapes you think are necessary for your floral design. You can draw them separately and then put them together to shape your design.
- You could start by moving one of the shapes that are part of the petals to test the gradient fill tools.
Gradient fill for a spectacular result
If drawing a single-color flower seems too basic to you, you shouldn't impose obstacles on your imagination. Through the gradient fill tool you can add two or more colors to your design.
To do this, select the petal in question and click on the "interactive fill" button. In this way, a button will appear on the ribbon to access the "fountain fill" tool.
- Determine the colors you will use in your design. This can be done via the color box that CorelDRAW makes available to you via this tool or via the color palette which should be on the right of the screen.
- If you use the color palette located on the right of your screen, you will see a first white button with an X, by clicking on this button, you can delete the outline of the object you are applying the gradient to. This will give you a better end result.
- Apply the level of transparency you want to the colors you are adding to your design. These values can be changed as you add more petals and give your design more color intensity.
More gradient options
Depending on your idea of the flower design, you might as well use the tool linear gradient, which will allow you to choose the intensity of the colors without leaving the object.
- Also using the options to invert the colors and the Repeat and Reflect button, so that if you use any color, accompanied by white, you can make the white color stay in the center of the petal.
- By pressing the smooth button, you will soften the intensity of the gradient and give you a better result than the actions you have done previously.
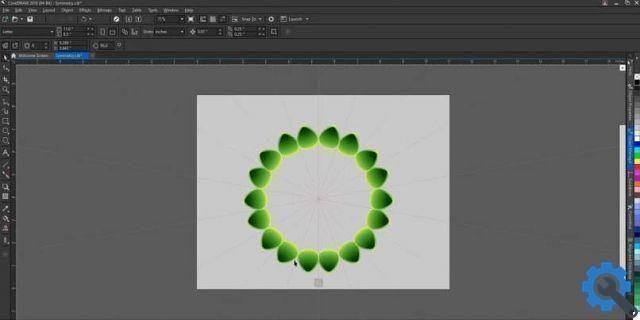
Rotate the petals
Once you have the ideal design for your flower petals, it's time to use the tool twist, which will allow you to complete the flower. To do this, select the object and follow the instructions:
- Determines the axis from which the shape will rotate.
- On the right side of the screen you will have a table that will allow you to specify the rotation angle and the number of copies you want to create.
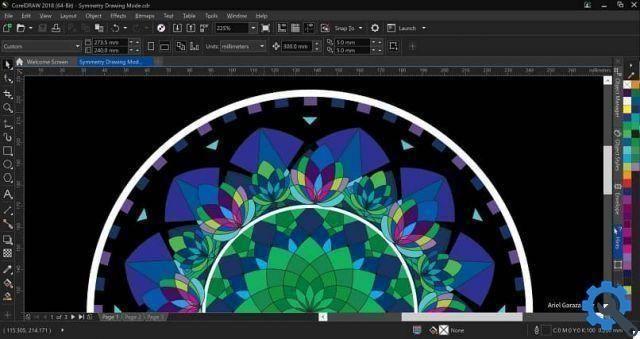
The final result
When you click Accept, you can see how the petal you originally designed doubled and rotated around it to form a beautiful and colorful flower.


