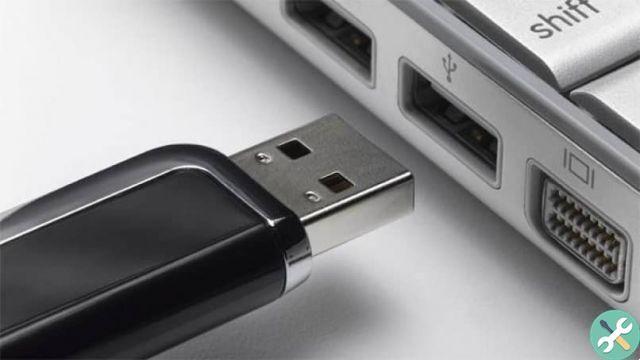
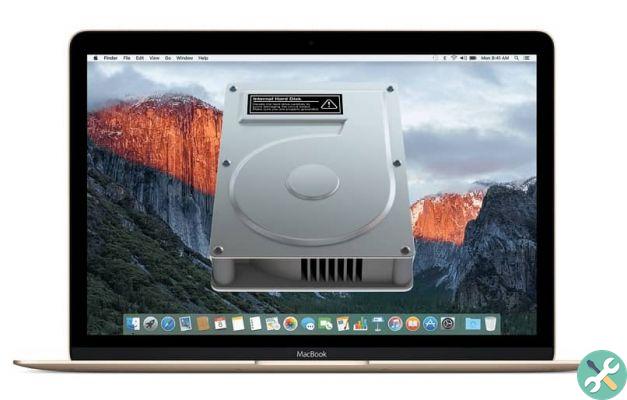
Thus, your beloved photos from last summer's trip or the video games that you downloaded with a lot of patience, can be stored in something like a pendrive or a external hard disk, which are storage devices.
However, what happens when that external storage drive is used in something else but you need the space? Well, when that's the case, you don't have to worry too much, as you can always partition.
A partition is one way to be able to segment the space of a unit of Archiving and in this way to be able to treat a pendrive, like two or more different pen drives. It all depends on how many times you have partitioned it.
It is for this reason that we will show you how to create a partition on a pendrive. But we will explain it through the process that needs to be done through a More operating system, as not everyone knows how to do this via the Disk Utility application. So, without further ado, take a look at the next step by step we have put together for you.
How to create a partition on a pendrive using Mac OS
Before teaching you how to create partition in Mac OS, you should know that this tutorial is designed to work in Catalina 10.15, so you shouldn't fear in process.
In addition, we also point out that if you want partition the your disk in order to install Windows, please note that it is best to do this via the Boot Camp Assistant. Also, through APFS, it is not always better to create different partitions on one disk, but to create multiple volumes on the same partition.
With nothing else to add, see how you can go through this process:
- You should start by inserting the Disk Utility application on yours Mac. Here, in the sidebar, you can see the different volumes to choose from. Click on the one you want to partition and choose the Partition option, then enter » Partition ". Also, once this volume is selected, you will be able to see how much space is available for a partition via a pie chart.
- Then, select the option » Add Which you will see with a summation symbol next to it.
- Soon you will be asked to choose a name for the new volume you are creating. And, when you do, keep in mind that for the formati MS-DOS ed ExFat, there is only an 11-character limit for that name.
- Choose a format for the volume's file system.
- Next, resize the volume size according to your needs.
- Then, click continue and at the end of the process do click su OK to end the process.
How to delete a partition on Mac OS
As we pointed out earlier, if you are going to delete a partition created with Boot Camp Assistant, you'd better use the same app to do this. But if you're sure you want to use the Disk Utility application, see how to do it:
- Start by entering the app again Disk Utility. Once there, you will find the volume you want to delete. This can be found in the sidebar. Once selected, click the Partition option and then click » Partition «.
- Once you have the pie chart in front of you, you just have to select the partition to delete and click on the "Delete" option, which you will see followed by a negative sign (-). In case the Delete option is "transparent" it is because the partition cannot be deleted.
Then, select the option Apply and ends with "OK" when the process is ready. It is important that you know that you can also delete partitions from a USB memory in Windows 10.
TagsMac


![Apple Vice Presidents Talk About Development of M1 for Mac [Updated]](/images/posts/c6254b668e5b3884d6b6338ccb8a02ff-0.jpg)