Microsoft Office is one of the most popular software packages in the world. It is very likely that the vast majority of the computers you have used have this package which offers programs such as Word, Excel and PowerPoint.
Microsoft Office is also design
When it comes to design developers, you always hear of companies like Adobe and Corel. However, there is one program that goes unnoticed, but that has a lot to offer.
For many, these programs are often a little difficult to understand and manage. But Microsoft wanted to establish a starting point if you are interested in delving into the world of design.
What is the publisher?
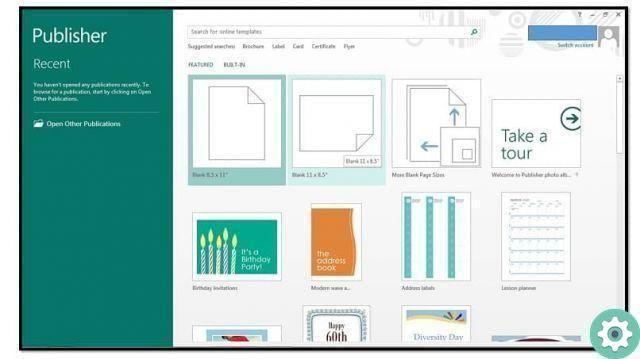
That starting point is Microsoft Publisher, the first version of which dates back to 1991. This desktop publishing program works with a system of design templates that its users can customize to create many great things like journals, calendars, postcards, newsletters, and brochures.

Gift package
Despite being considered a low-end editing program, it is indisputable that has great scope in creating design projects. You just have to use your imagination to make it happen.
Using templates
To make this project, you won't need much else other than using the forms tool that Microsoft Publisher offers. Now, if you don't have a very clear idea of the box you want to design, we recommend that you search for a model on the internet.
As soon as you have that box template to fold with shape templates, you will be able to look at the image you got to start designing it on your computer.
How to make a gift box
When you are clear about the shape templates you will be using, what is left is draw through the shapes tool. From there, you can:
- Draw the shapes necessary for the creation of your gift box.
- Once drawn, Publisher changes the ribbon to go to the shape's properties, where you can change its size, color, fill, outline, and more.
- Copy and paste the repeating figures into your gift box design. If you need to give it another orientation (vertical or horizontal), you can press the Shift key while rotating the shape, that way it will be straight.

Union of shapes
If there are two or more shapes that need to be joined in your design, the process of making them one is really simple. You will only have to:
- Select the two shapes you want to merge by holding down the Ctrl key and clicking on both shapes.
- Click on the Align button that you will find in the shape format tab. It is important to perform this procedure to align both vertically and horizontally.
- If the main shape is overshadowed by what should be in the background, you can fix this by using the submit button.
- Finally, to consolidate the merging of the shapes, click the group button.
Insert images into the shapes
With the previous procedure, you must already have the scheme necessary for the creation of your gift box, for add pictures to your new gift box, you need to follow these steps:
- When all the shapes are in place, you can click the Ungroup button to add images to a specific shape.
- Select those shapes on which you want to insert the image.
- In the «Format» tab, using the shape fill tool, click on the image option.
- You can choose an image on the Internet or from your gallery.
- Repeat the procedure if there are more shapes to insert the same or a different image.
Adding the finishing touches
All that remains is to finish with the finishing touches to the design of your box, like define the fill color in shapes that have no image fill, the thickness and color of the edges.
This way, your gift box designed in Microsoft Publisher is ready to print and surprise your friends or family with your best creations.


