


Sometimes we want to shoot beautiful photos that everyone will remember; Corel Photo Paint is a great tool for creating interesting effects on our photos. For example, you can create a glow effect on shapes and text using Corel Photo Paint; Or maybe even create a sepia toned image with Photo Paint. Well, on this occasion we will teach you how to create the corner effect with Corel PhotoPaint.
If you like design, this post is for you; since everything you learn about this program it will serve you professionally. Of course, you always have to start from the basics; how to change resolution, paper size, rotate and duplicate an image with Corel Photo Paint. Learn later how to protect your final work by adding a watermark to your images in Photo Paint.
Make corner effect with Corel Photo Paint (crease effect)
To begin with, we will tell you that it is a very nice effect that you can use on banners, photographs, etc. You can also apply it to text boxes. When you start opening a project, start by clicking on the blank document. We could call it «Corner bending effect 1».
The size details of the photo and those things you put on them as needed. You give him to accept and you get a blank page. Remember that you are exercising.
Steps to follow to get the corner bending effect
- First, what you should do is go to the menu bar and import the image or photograph you need.
- Then, with the left mouse button, you open an image frame and click on it to make it appear.
- Then, in the toolbar on the left, click the «Selection» arrow and adjust the height and width of the image box according to your needs.
- Once this is done, place the photo on the sheet and, with the image selected, go to the menu bar at the top, go to Bitmap and there go to 3D Effects and search Angular fold.
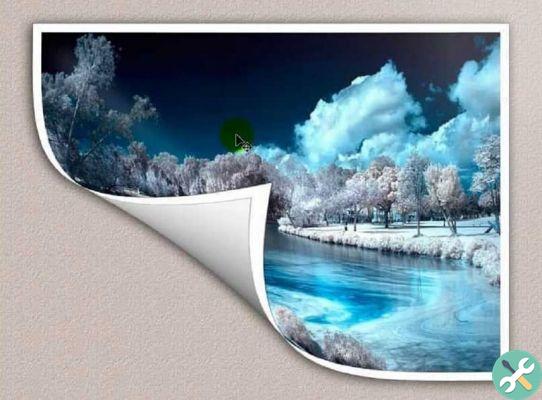
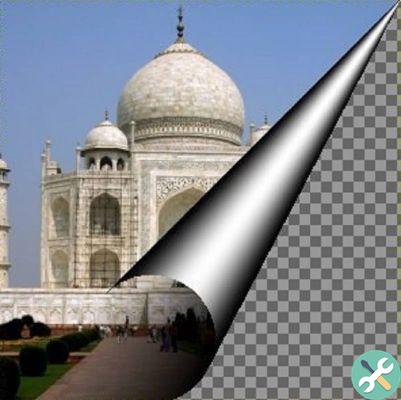
- Once in Corner Fold, a box will appear with the corner fold effects that you can give to your photo; There are 4 small icons where you can choose which side of the photo you want to fold: top left, top right, bottom left and bottom right. Choose what you need.
- In Corner Fold you also get the color of the crease and background, choose the one you like best. You can also make sense of the folding of the corner of the photo (horizontal or vertical). And you can define if you want matte or transparent paper.
- If you choose the Transparent type, the angled crease will allow you to see the background photo image through the crease, it looks very nice.
- You can also choose the percentage of the fold in terms of height and width. Choose what you need. Box foldable at an angle It also lets you preview and then check how it's going.
Other additional tips
If you want another additional fold in another corner, go back to Bitmap, look for 3D Effects again, continue with Bending ad angle and repeat the process. If you want to fold 2 corners, locate the icon with the corner you need to fold. Adjust the background and crease color.
Adjust the height and width of the new fold, the direction of the fold (horizontal or vertical) and preview to see the changes made to the photo.
A warning: the corner crease will always be skewed at the corners you choose and will not follow the shape of the object or image.
Dear friends, now it is a question of experimenting, because as you can see it is not that complicated. We hope you can create beautiful effects using the Corel Photo Paint and give special touches to those photos you appreciate so much.
EtiquetasCorel Photo Paint


