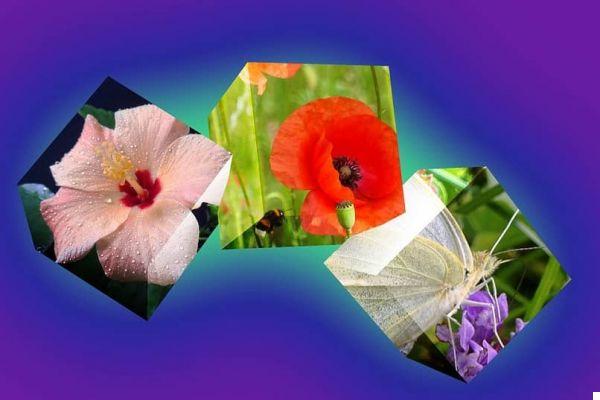
A GIF (as its acronym in English describes it Graphics Interchange Format and in Spanish it is "Graphics Interchange Format"), is one of many graphic formats which are frequently used on the Internet; but with the particularity that it can be used both as a still image and for small animations. Now, how do you create an animated GIF in Photoshop?
It is true that there are different types of formats for working with graphics in different instances, so it is good to know the differences between these types of graphics files.
What is an animated GIF for?
The GIF format was created by CompuServe in 1987 and has been ever since used for banner ads ; Despite using only 256 colors, its popularity lies in the sequence of images that create an optical animation effect.
In addition, they are compatible with all types of browsers, are very light unlike videos and can have transparent backgrounds. Today's requests and changes have even led to the development of 3D animated gifs that are useful in certain circumstances.
How to create an animated GIF in Photoshop?
The first thing is to create a workspace, for this we go to the menu option File → New and in the dialog we will place the name, the pixels of width, height, resolution and background content that the animated GIF will have (for example, 600 × 400 px and resolution of 72 px and transparent content); pressing Ok we will have our default Layer 1.

Let's go to the Window → Timeline menu to display the panel where the animation frames will be; An important note to note is that in almost all cases the elements of an animated GIF have a transparent background; which can also be done in Photoshop beforehand.
We select the images we will use in the Open window and press the Open button to view them in Photoshop and be able to drag them into the work area, or copy and paste them with Crtl + C and Ctrl + V; we must know well the management of layers in Photoshop in the Layers panel, to define what will be the background and the front ones.
Having each image in its corresponding layer, we need to adjust its size, position or rotate it to based on what we are looking for, using the selectors we see at its ends when we click on them; We need to hold down the Shift button while resizing an image so that it maintains its aspect ratio and prevents it from appearing stretched or flattened.
We go to the Timeline panel and in the central part we click on the selection box for place the Create Frame Animation option and we click to show us the first frame of the animation; then to create all the other frames we want, we press the icon (in the shape of 2 crossed squares) which Duplicates the selected frames.
Each frame should be slightly different
Each frame must be different from its predecessor, changing the elements of each frame to so that its sequence shows the movement that we want to capture in the animated GIF. The different frames are arranged in much the same way as the hand-illustrated cartoons. Also, you can send them via WhatsApp and any other means that can reproduce them, here we also teach you how to do it.
If you wonder how many frames a GIF should have, the answer varies depending on what you want to capture; an animation can look fast and mechanical with just a few frames, be smooth with 24 frames per second (like in movies) or slow with too many frames. The more frames we use, the heavier the final animation file will be. Also, sometimes it is necessary to increase the speed, so it is useful to know how to do it.

The duration of the sequence is visible if we select all the frames by holding down Shift; doing mouse click on the first and last frame.
Then we display a list of several times in the contextual menu of the mouse; of which the last is the one we carry with us until now; in the end let's save the work in the File menu → Save as or with Shift + Ctrl + S, selecting the GIF option as the output format.
It also applies to the menu File → Export → Save to Web or Alt + Shift + Ctrl + S. In both cases you can select whether the animation will have a single repeat or if the sequence will repeat indefinitely.
By pressing the Save button we will have finished the GIF animation in Photoshop; To view it, we open the image only with any browser like Firefox, Chrome or Edge; Now that you know how to make an animated GIF, you can test your creativity to create great animations in Photoshop quickly and easily.


