


Now, there are many ways you can achieve the quality you expect from multimedia content. But probably the most popular is the use of Sony Vegas Pro.
Although it is not of Sony for a long time, so as such it should be called Vegas pro since I bought Magix, the excellence achieved by this program has not changed much, through which you have many instruments different through which you can edit a video intuitively and like a pro. As well as making it creative by adding screen motion effects and even subtitles so everyone can understand what you want to express.
With time and practice, you can become familiar with all the tools you can count on in Sony Vegas Pro. It's all a matter of patience and trying a little with the different buttons and options. But it's always good to follow a tutorial to gain knowledge about something in particular.
For this reason, we bring you below a small tutorial through which we will talk about how you can add borders to a video via Sony Vegas Pro. See below everything you need to know.

Add a benefit to a video in Vegas Pro
Being able to add a border to your video in Sony Vegar Pro is a pretty smart option for giving a video a personal touch. It also works if you want to reduce the resolution of the video a bit for some reason, making it look a little more aesthetic.
This is why it is always a good option to be able to use the Borders option in Sony Vega Pro. Now, to add your border to a video in this great program, you need to do the following.
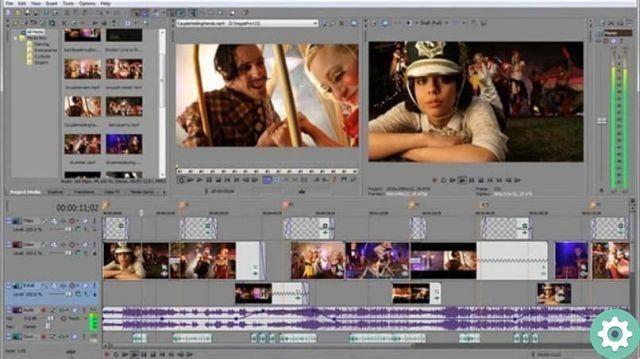
- Start by opening the Sony Vegas Pro program. Once you open it, you need to open a video that you want to edit. This can be done in the option apri in Fillet.
- Once open, you need to drag a video to the event line at the bottom of the schedule. Here in the video timeline (the top one) you will see a button from strange shape it says "Event FX". Click here. You can also do the same by clicking on the video and then clicking on the Video FX tab located in the top box of the program.
- Now, here you will see different folders with the different effects that you can use to edit a video. You need to click on the All option, but it can also be in another one folder.
- Now it is the effect of Border o edge and click on this. Now, on the right you will see all the edge effects you have available.
- Then select one of the edges, edit it as you see fit and apply it.
Take your time to choose an advantage
As with any visual effect that you can add to a video, it's important to take the time to think about which one might suit you best. It wouldn't be a good idea to add the same effect you would add to a personal video ad. It is good that you try each one and think about which one can be better with the general theme.


