


Of course, these adjustments are not always made out of non-compliance, they are also made out of simple curiosity. The truth is, this option ends up being a lot safer and cheaper compared to surgery where you risk your life for vanity. This way you can start using and editing photos in Photoshop without downloading them online for free.
So, regardless of whether you do it out of nonconformity or out of curiosity, today we will show you the correct steps to change the color of your eyes with Photoshop. Likewise, you will learn what characteristics the photograph you choose must have to carry out this retouching and then edit your photos like a pro.
Features of the photography you will use Photoshop to
To retouch a photo with Photoshop, this cannot be just any photo, as you need to choose one that meets certain characteristics. In this case, since they are the eyes, these characteristics are much more important, so that the change is seen in a way realistic.
Be careful, by this we do not mean that you cannot change the eye color in all photographs, because the reality is that, with this program, you can. But, if you want the change to be noticed, the ideal is to follow these tips and, in addition, it will be much easier to carry out the retouching.
So based on this, select a photograph that meets the following requirements:
- The eyes must have very good lighting, as it usually happens that depending on the angle of the photograph, some sort of shadow remains in the eyes. Therefore, you must realize that in your photo i your eyes are perfectly illuminated and their color is well observed.
- Try to make the iris appear closed enough in the photograph you choose, so that its original color can be appreciated. Therefore, when performing retouching, the change will be perfectly observed.
- Obviously, you should choose close-up photographs, so that the eyes can be seen well.
If the selected image satisfies these simple characteristics, you can make editing with Photoshop effectively. Best of all, the change you made can be appreciated and still feels very real.
Instructions for changing eye color in Photoshop
Knowing what the requirements your image must meet for change eye color with Photoshop, we will show you the following directions to do it:
- Find the photo and open it in Photoshop.
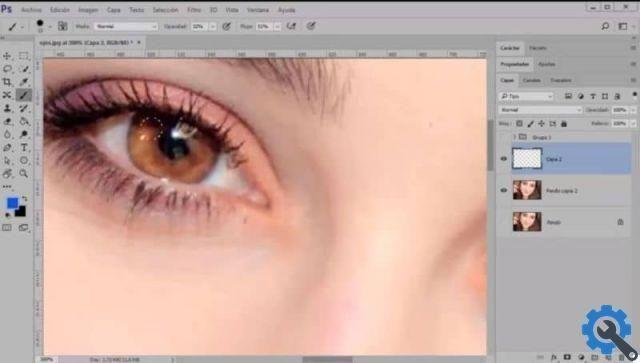
- Once inside, press the “Circular Selection Tool” located in the left sidebar of the screen.
- Now, select " Iris of the eye ".
- Then, hit the "Shift" key and use the same "Circular Selection Tool" so you can add another selection without losing the first one.
- Now press "Q" to activate the "Quick Mask" mode.
- Next, create a " New level ”Without losing the selection you have.
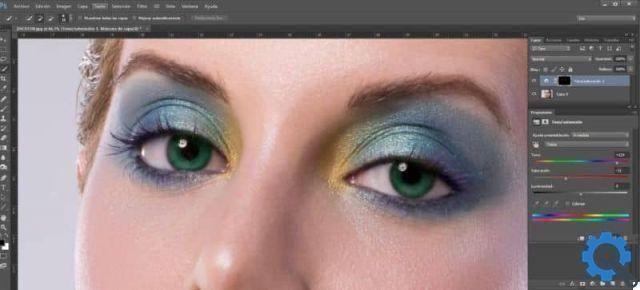
- Now, select the color you want for your eyes and click "OK".
- Use the "Bucket" icon on the left sidebar of the screen to add color to your eyes.
- Then change the "Blending Mode" in "Hue" And that's it.
As you may have noticed, following these steps will make it very easy for you to change the color of your eyes and the most important thing is that they will look very real. Of course, whether they look real will depend on the color you choose for your eyes.
If what you are looking for is fun, you can perfectly choose a color scheme or add a color to one and a different color to the other. In any case, the ideal is that you always follow these steps that we have indicated to you to the letter and we assure you that you will reach it without inconvenience.
If this information was useful to you and you have already been able to change eye color in Photoshop, do not hesitate to continue reading our blog. Besides, you can also use other Adobe Photoshop alternatives to edit images. If you enjoyed it, don't forget to recommend us to your friends and family, so that, like you, they can learn how to make this change.


