


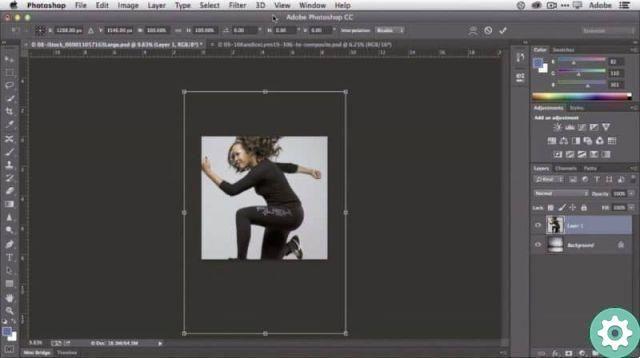
Within the area of I work there are the different elements called: tools panel, history panel, color panel, library panel and layers panel.
In Photoshop we have several bars, elements, functions that make handling more practical and efficient to do the job and even transform or convert text to vector. Creativity comes by knowing handle properly each of these options that are available to us.
What happens sometimes after working in our workspace for some time Adobe Photoshop, unexpectedly everything scompare and the space remains without a panel, the instruments are all empty.
Sometimes this happens unintentionally or by trying different functions when we lose the entire workspace and its windows. In other cases they appear windows that were not there in the beginning and the ones we commonly use are lost and this sometimes leads to confusion, worry and a bit of frustration.
Let's remove all of these elements or windows and we don't know where they are. What should we do for restore everything?
Today we will learn how to do it in an easy, simple and practical way. This is applicable to any version of Adobe Photoshop.
Restore workspaces in Photoshop
We will describe in a practical way the recovery of all these elements that we owe deploy and do the job of the moment.
If we know the name of each of these elements, we can restore it so very simple.
Step 1
The first thing is to go to the part identified as the window at the top of the screen. So it comes this window appears, in that bar almost at the end the name tools appears, obviously this is one of the most used.
Step 2
When we spot it, it we open, once it has been deployed, we mark the tool, drag it to its original position and place it there.
3 pass
So let's go back to the window, look for the name of the levels there, here again we touch with the mouse and we bring the whole group to the right of the monitor.
4 pass
When we place it on that side we have to wait for a blue line to appear, this indicates that it is paired with the rest of the elements, when it happens we release it and then it comes restored in that place.
Likewise, there are other variations within the same layers, which we will select based on what we have already worked on or what we want to do at the moment.
For example, the property is being dragged in the same way the blue line appears and so on we are accommodating it the most practical for our tastes. Now what we want is to position everything as at the beginning or like when it left the factory.
Reset to factory settings
Step 1
You go to the menu option Window> Workspace of work selected essential elements it is now default.
Step 2
We stop on the bar and see " restore "the let's take a clip and it's all we had when we started. It can be said that we have restored them.
Now we can choose what we want to leave marking it and closing what we don't need. When there are times when we want to go back to the way we had, we go to the area of work> essentials> restoration and we get everything as we had it.
It is always very effective to follow the help provided to learn how to use Photoshop. Recovery is also possible for other Adobe tools such as Illustrator CC.
As we have seen it is very simple, easy if we follow these steps we can restore quickly the area of I work in Photoshop CC.
You may also be interested in how to unlock and remove the lock from a cloak.


