


Corel Draw is a program that offers many really useful tools. Although many may prefer another program like Photoshop, this isn't far behind when it comes to convenience and wanting to make things easier for you when you want to perform any action through its effects and templates, which you can get to customize.
This is something that can be used in design guides or in drawing guides Corel Draw. See below how you can use them and configure them to your liking.
What are the design guides in Corel Draw?
Design guides, also called drawing guides, are a series of lines that we can make appear according to certain measurements. These are used to limit or frame objects in a specific way. In fact, these same lines have the ability to align objects symmetrically to what you need, so you can make a luxurious presentation.
There are a ton of different lines you can use for these purposes and they are one excellent tool when it comes to designs that need symmetry or to be somehow different from something in particular.
How can I use the design guides?
In Corel Draw you can find many tools that allow us to position all kinds of objects in a specific way according to what we need.
These tools are design or al guides drawing. If we go to the top menu that says "View" and click on it, we can see all the design guides available in Corel Draw at the end of the list.
These are the page guides, grid guides, ruler, and alignment guides dynamic guides. Remember that you can always access these guides if you activate their option in floating windows.
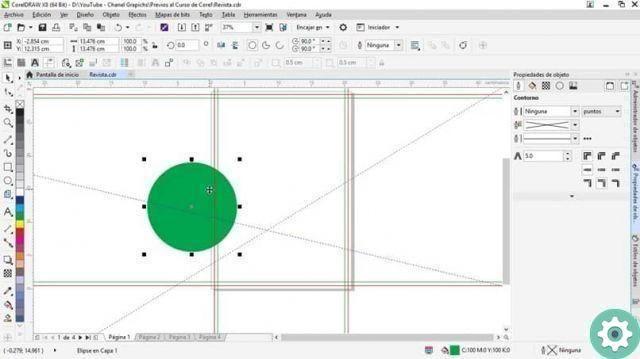
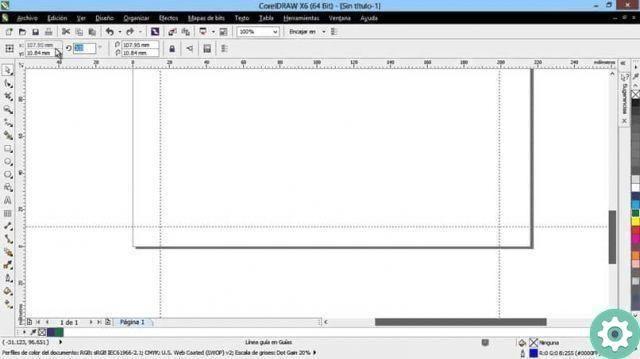
We can start by talking about the grill guides. This guide can be easily activated from the toolbar in Show Grid, and when we do we will be able to see many lines forming a grid that will allow us to align the objects to our liking.
To configure these guidelines and others, you can access the menu "Instruments" and then "Options". And, by accessing the «Documents» list and then the "Guidelines" list, you can see all the specifics of each of these guides.
This gives us the opportunity to change the space between the horizontal and vertical lines. Remember that the same goes for the other guidelines in all their aspects, colors included. As for the grid guide, you can see that every object you create on it will try to line up with a line.
However, you can disable it in the options. This also applies to the other guidelines. On the other hand, there is the basic grid. These guidelines are perfect for objects you want to line up horizontally or are different planes if you like.
In addition, the alignment lines can be used to perfectly align the objects to your liking. Whenever you move an object and you have activated alignment guides; you will see that the object shows some "ghost" lines that show you where or how they will line up.
Furthermore, dynamic lines are lines temporary focused at different angles. The idea is that you can use them to be able to align objects or anchor them effectively at a particular angle.
The angle used, the number of lines that appear and how they are to appear can be changed in their options and are an excellent tool for easily working on symmetry and perspective.
They also help maintain items to specific distance, which will mark the line through a legend and a ghost line when guiding is done.


