We can use several methods in Corel Draw to generate very colorful and impressive effects. Especially if we use the correct tool for 3D effects, which visually attract a lot of attention and offer a professional touch to our project. Here is a tutorial that will teach you how to use the extrude tool to generate 3D objects in Corel Draw.
You will be able to realize how simple it is to manage and use the different tools that Corel Draw Offers us. We could see this in the article that showed you how to use the smart fill tool. And then we will show you this interesting guide step by step.
How to use the extrude tool to generate 3D objects in Corel Draw
And what will we achieve with the use of the extrusion tool? With it we can print objects with an illusion of depth that resembles a 3D effect. And to use it, first of all we need to choose the object to which we will apply the effect. Next, we will go to the side panel where the tools menu is located.
In the interactive tools group, where you can use the Shadow, Silhouette and Blend tool. When you select, press and hold the left mouse button, several options will appear but we will choose Extrusion. Next, we position ourselves on the object, create a clip and hold down the left mouse button and drag.
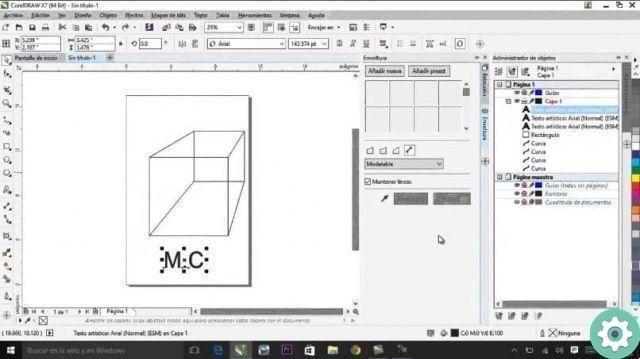
On the object it will appear as a sort of coordinated axes and a letter x, this will be the vanishing point of the object we are going to extrude. Once released, it will show us an object that was previously a flat figure and now has depth. We can configure the different options of this tool, from the property bar.
We can add several extrusion effects to our figure, which are preset in the first option on the property bar. Here we can preview the different options it offers us. We can also change the position of the object relative to the X and Y coordinate axes.
There is also a button next to the coordinate measurements, with this we can choose between 6 types of extrusion. Next to this button we can change the location of the vanishing point, via two fields. We can manipulate it very easily with the mouse, to give depth to our object.
Depth effects with the extrude tool
We can block the vanishing point, relative to the page, relative to the object or share the vanishing point with another object. What does this mean, that the changes you make in the vanishing point of one of the two objects. These will invariably apply to the other object.
It also gives us an option that allows us to manually add the depth to the object and we can also change the rotation of the extrusion. When you choose this option, it shows us a preview and in it we can apply the rotation. Selecting with the mouse, we hold down the left button and drag.
But if we don't want to do it like this, in the lower right part of the rotation window, there is a symbol, if we press it will show us the rotation values. We can modify them to our liking, until we obtain the desired degree of rotation. We will also find a button with which we can change the color of the extraction depth.
Here we can choose three different options and it also shows us the color picker and in the Color option shadow we can add two colors. We can also add a bevel effect to the extraction, we can do it using the mouse or by entering values. There is also the possibility to change the illumination of the object, as well as its intensity.
And finally we have the option to copy and delete the extrusion in an object and then we conclude this tutorial. Here we were able to show you the options we can use with Corel Draw's Extraction Tool.


