


There are many applications and games on the market, but most of them are limited to installation on mobile phones.
But what if you run out of your smartphone? Maybe you lack the space to install applications, or you just want to have that game you love so much on your PC. For example, download, install and play Clash of Clans.
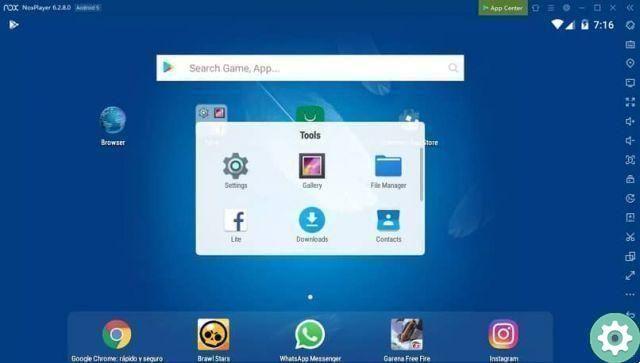
Well no matter the reason no one will be a problem because here we bring you the best Android emulator for Windows.
This console allows you to install games and applications designed for Android on your PC and is so versatile that it works whether you have Windows 7, Windows 8 or Windows 10.
If you don't know it yet, the wonderful program we are talking about is BlueStacks, an emulator for Windows.
Step by step to install Bluestack
We start looking for BlueStack on Google.com until we find the program installer, or we can download the emulator in its latest version directly from the official BlueStack website.
Within the site, you have to click on the "Download for pc" button to be able to download it to your computer.
After a few seconds, the installer it should be downloaded. It is super light. Now we will click on the file we downloaded to start the emulator installation.
We select "Run" the file so that it redirects us to the initial program installation screen. We will follow the steps, pressing «Continue».
The installation manager allows us to decide where we want to host the program, showing us the default option, which you can keep if you wish.
We press «Next» and it will give us a small list of preferences that must be selected for the application to work properly.
We click on «Next» again and wait for the completion of phase number one of the installation. After that, the second stage will begin, in which Android is downloaded.
Then it will boot the system as such, this may take some time the first time. Don't despair!
We have reached the installation complete. We can already see the Android emulator working.
To install apps and games
Now that we have the best Android emulator for Windows on our PC, here comes the most awaited part, starting to install those games and applications on Mac or Windows that we wanted so much.
But calm down, there are still a few things to do before you can install anything.
First of all, we must log in with our Google account, but this one has its trick. We will go to the application search engine and search for any application.
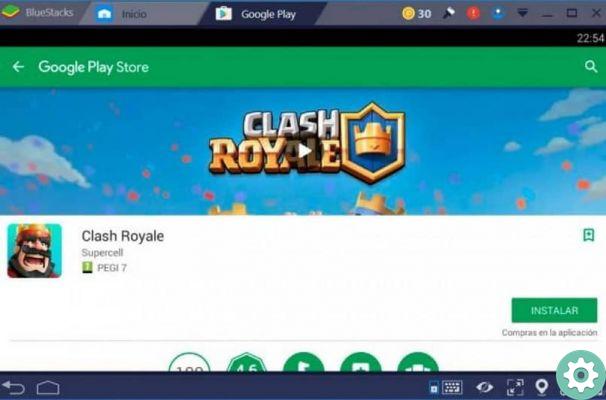
Then, click on «search game for», which redirects us to the configuration screen of the AppStore to enable it. We will click «Continue» to log in or create the Google account (as appropriate). We have to accept the terms and conditions.
In this way, we can now add the account in BlueStack, for which we only have to enter the email and give «OK».
Finally, it must be synchronization of applications with Google enabled, for which we have to log in again. Now let's hit the Let's Go button! It's ready.
As a final requirement, when you try to play ti you will be asked to install Google Play Games. You have to do this for them to work.
The good thing is that you don't need to run this component. Simply at the end of the download, you will be able to start the game normally.
And now, enjoy games and applications in the best Android emulator for Windows. If you have any other questions, please feel free to visit our website and find out the things that will help you to solve some problems that arise.


