


Corel DRAW offers you more than 70 original templates to decorate your paper or you can easily create a custom template. With them you can apply a series of effects to the shape or element created, as well as make brush, spreader and calligraphic transformations.
You have at your disposal a menu on each side, which once opened forms a set of related tools. Best of all, you can choose to expand this menuby clicking on the handles located at the end of it and dragging them towards the document.
Artistic multimedia tools in Corel DRAW
These tools will allow you to add different effects of brush strokes on the paths you want to create on the sheet or document. In other words, you can simulate in vector format the stroke of a brush or the effect of splashes or smudges, among many others.
Among the functions you find in Corel Draw, you will see the "freehand" tool. When you click and position yourself on the sheet, a brush will appear and you can draw as you would with your free hand.
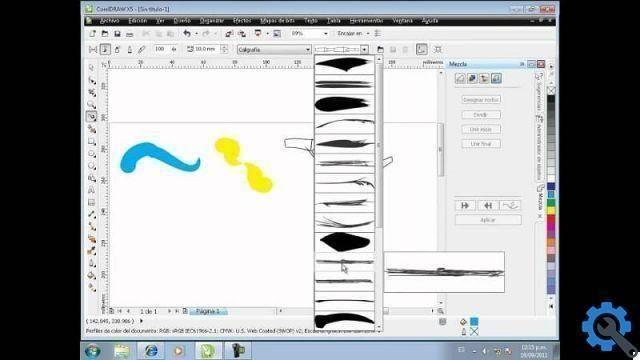
In “Art Media Properties”, you will be able to use 5 different art media. When you select one, you will notice that more options will appear. Among them, you will find the option to smooth the path and configure the stroke width, you can also generate 3D objects on your sheet or put or apply shadows to objects.
How to add a path with artistic media
You can make any design you want with any tool and add an effect to the edges thanks to artistic means.
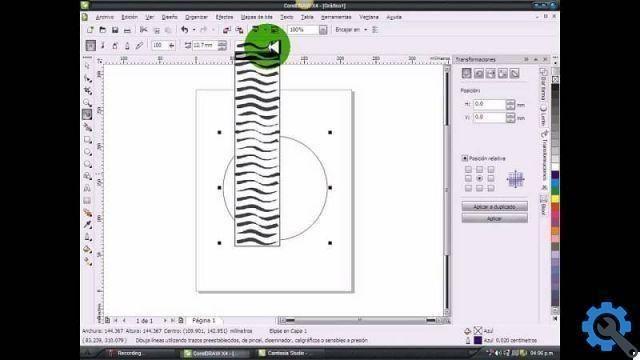
For example, you can insert a rectangle with rounded tips and add a scatter effect. You can also make a freehand drawing and then give it an effect with the art brush, looking at the end as if the image was hand drawn.
Let's say you want to create or draw a flower in Corel DRAW. First, do the freehand drawing with a one-turn spiral, add the leaves and stem and the half spiral would be a cherry tree.
Once you have the drawings, use the "Shapes" tool and modify the shape of the fruit until you get the look you want. Once you are ready, proceed to use the artistic media tool to change the shape of the drawing.
Use the "brush" tool and select the option " calligraphy". Choose the thickness of the line you want to draw. Click on the cherry tree and when you select it again, it will automatically change you to the stroke you chose earlier.
You can also choose the thickness that suits you. You will do this throughout the drawing. Even if you have already selected all the art media, you will be able to change some things in the image. Once you have made the necessary changes, proceed to color the image.
The color is selected in the bar you have on the right of the program. After applying the color to the drawing, and if desired, extract it from the sheet to make a square with rounded corners, following the same procedure as for the drawing.
Add shape and style to the edges by creating a frame in Corel DRAW. Change the centimeters you want to be between the painting and the edge of the paper. You can do this by removing the fill, clicking on the art media tool and choosing a plant style so that you can give an original touch to the image you are working on.
To align it correctly, go to the option Object / Align / Distribute and place the object horizontally. Follow the same procedure to align it vertically. This way it will be well centered on the blade.
With these simple steps that we show you on miracomosehace.com you can make your drawings with the Corel DRAW multimedia tool like a pro.


