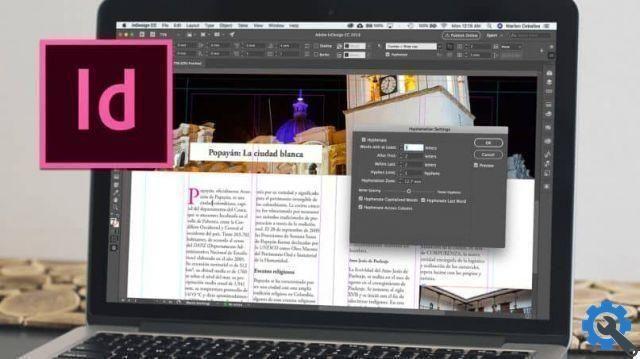
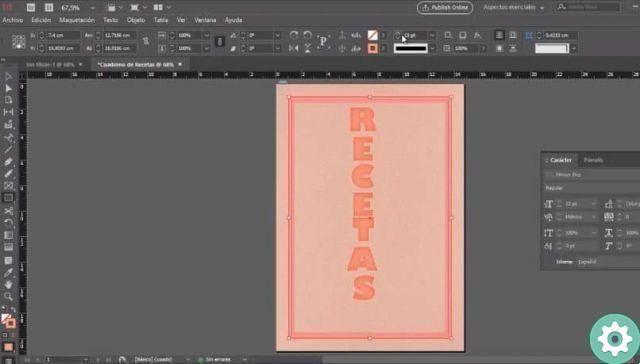
This word processor allows us to add a table of contents in Adobe InDesign to display our content in a readable manner; as well as creating multilevel numbered or mixed lists in Adobe InDesign so that our text looks sorted.
How to add text with Adobe InDesign?
If you've used other word processors, you know there are several options for adding text. The first would be to drag it from the processor where you have it, to your workspace in Adobe; There you drop it and it will automatically be inside a frame. The downside is that you will lose all the properties you originally gave it.
The second option is very generic, it is that of copy and paste; yes, you can do this within InDesign as well, but the text would lose all the formatting features you provided it with, such as bold and italics; so you will have to spend more time re-editing the text in Adobe InDesign.
The third and best option is found in the menu, under the tab File, Place function, (Control + D); this will be useful for inserting any type of information into your document. Since it will keep the format you gave the text. Although you can also create your own paragraph styles in Adobe InDesign.
It is important to check the Import Options first; Within this dialog box you can decide which characteristics of the text document you want to import; Do you want to work the text directly in Adobe InDesign? .
You can edit the text directly using the Text (T) function, found in the menu on your left. If it is a long text, it is recommended to use the spelling checker in Adobe InDesign, to avoid spelling errors.
When you select this tool, the top menu bar will change automatically, showing you all properties related to text editing. Clicking and dragging the text tool will create a container or frame for the text.
If the Text tool is still active, just click inside the frame and the cursor will be activated; On the other hand, if the Selection tool works, double-click the text frame and you will see the cursor blinking, so you can start typing.
In the toolbar at the top you have everything you need to select the style you want to give it, as you would with any other word processor. How can you manage the text frame?
How to manage text frame in Adobe InDesign?
The frame is the container for the text, to create it you just need drag the Type Tool (T) onto your workspace. If you want the frame to be square, hold down the Shift key as you drag it vertically or horizontally. If you want different measurements, drag the ends individually, to the side or down.
Once the text frame is selected, the menu in the toolbar will be activated, where it will be possible to see its position on the X axis and on the Y axis; you can change the size, give it skew, distribute the text in columns.
You can also modify the vertices and make them curved, using the small yellow button you see in the text box; As you create the frame, you will see a notice showing its measurements next to the slider.
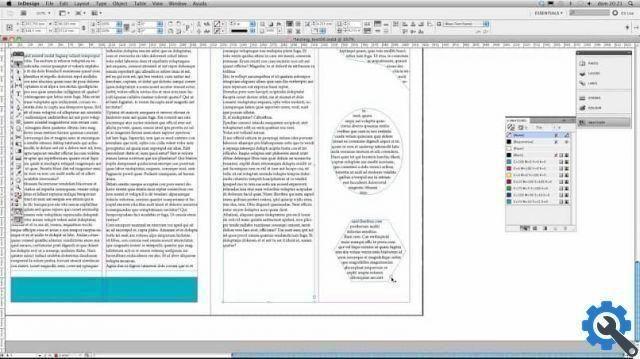
When you import text into Adobe InDesign, frames are created automatically; But if the text leaks out of the container, how can you fix it?
Bottom right you will see a red icon, click and it will show you the excess text, drag and drop it. It will automatically create the frame, and both frames will be interlaced as the same item; so when you remove the text from the first, you will see how the text decreases from the second.
Adobe InDesign has many features to make your work easier; It is very dynamic and allows you to make one multitude of projects. We hope this article was useful to you and that from now on you can generate text and manage frames with these simple tips.


