


It's just a matter of learning how to use and knowing the different functions it has and learning how to use them. Without further ado, let's start working and learning how to create or create a magazine cover in Word.
How to create or create a magazine cover in Word
The first thing we need to do is enter the Word program and create a clip in a blank document, now we need to configure our document, for this we create a clip in format and then in the page settings.
We select the paper size and in our case we indicate A4 which is the specific one for our project.
We also need to change the parameters of the margins, both the top and the bottom and the right and left, we can set them all to 1 and we accept. But if we are going to print our magazine on a home printer, we have to put the margins in 2, we have to be careful with that.
We already have our margins ready, now we place the orientation vertically and we need to insert an image that we must have downloaded in our image library. We must also be careful that the image is in PNG format. So we make clip on insert, images we select our image and we make clip on insert.
The image will appear in the worksheet, we make a clip on the image and circles will appear with which you can enlarge the image, rotate it, etc. In the part in top right a symbol appears in the image, we create a clip and a window with design options appears and we select in front of the text.
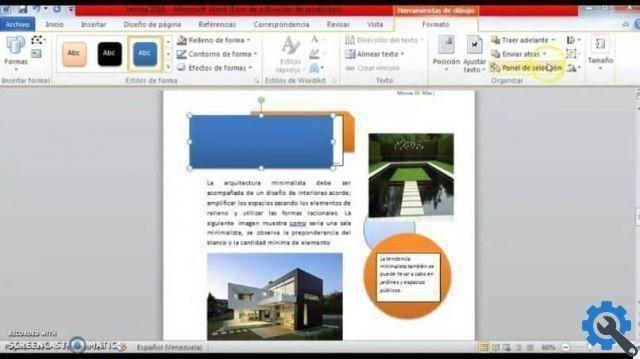
It is important to clarify that the background of our page can be left blank or change the color. But when you place the image on a colored background you will see a halo or aura on the image and it will not look professional.
That's why I recommend having an edited image of magazine covers already in order to avoid this problem and our cover comes out in the best way.
Ok, clarified, let's position our image and position it so that there is an empty rectangular space at the bottom. We will go up again Inserisci and we will select the shapes and then the rectangular shape. Let's go to the blank area and insert this rectangular shape into the whole area so that nothing is left blank.
Create a format for our magazine
At this point we format, we insert the outline of the shapes, we cut out without outline, then we insert the fill of the shape and select the color of our preference. Now we can at this point insert some text that we can change or modify, so we will go to Inserisci then text box and we will select.
The text will appear on the image, we format it, we create a clip in Adjust text and select in front of the text. Now, after selecting the text, we're going to format, shape the outline, select without outline, then fill the shape and select without fill.
Now let's place the text at the bottom and we can change text, change it, enlarge it and change the color of the letters.
If we want to put more text in another part of the cover, we don't have to repeat the whole process. You just have to select the text by pressing the Ctrl key and without releasing drag where you want and you will see that you will have a duplicate. can change this text as you did before and enter the character you want in the letters option.
Now go to the design tools, enter the formatting and you have options to change the letters, such as their thickness, outline, effects, etc. And you can do that with as many texts as you want to include. And you already know how to make or create a magazine cover with Word.


