


An excellent design tool within Word is adding lines. These can help us with the design and visibility aspects of some texts in addition to images. If you find it interesting, we'll teach you how to insert these lines so you can integrate them into your new one project on a future occasion.
If we are working within a page Word, it is very likely that we need to somehow highlight a text with its own style, a title or even give some sort of separation to some sentences.
It is precisely for these situations that lines are used within a Word page, as they are easy to insert on the page and also to edit. Thanks to the versatility of this program, we can place these lines in multiple positions and colors.
Inserting the line into a Word document
If you want to insert these lines in your text, you just need to follow the following steps:
- Start by positioning the cursor of Your PC, on the position, where you want the lines to be.
- Once placed in the space where you need to insert the line, start typing the characters you need and then hit the Enter key or even the Enter key. Your line will be created automatically right in the place you have chosen.
If what you are looking for is a series of different lines, here we will leave you a list with the fonts that are easy to obtain and that may interest you a lot.
- Single row: three dashes (-)
- Double simple line: three equal signs (===)
- Dashed / dotted line: three asterisks (***)
- One line in bold: three underscores (___)
- Wavy line: three tilde (~~~)
- Triple line with thick center: three numeric signs (###)
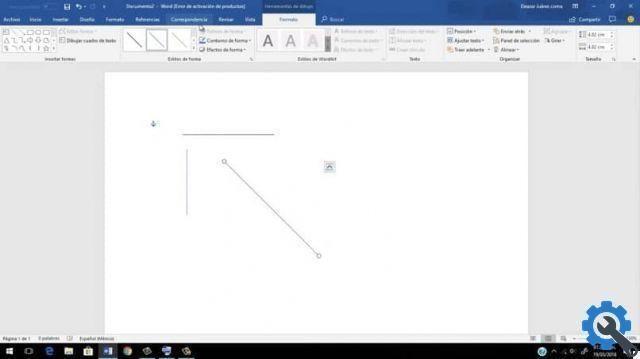
Insert a line using the horizontal line tool
Eventually performing this step, it will be much less complicated and safe, so here we will show you how to insert a row using the main tool:
- As in the beginning, start by placing the cursor right where you want to insert the line.
- Once this action is ready, you need to go to the start button of Word, which is located in the upper left corner of your Word sheet.
- Once there, you just have to press the Borders button, this button is in the section that says " Paragraph ". You just have to press the down arrow and a drop-down menu will appear on the screen, which is accompanied by said button.
- Within this menu, you need to locate the option "Horizontal line". You can see that automatically, a line will appear horizontally in your document. This is the basic form, however, if you want modify it, you can do this by double clicking on it.
- When you double-click on it, you will see a dialog, which opens and presents you with a series of options, which you can adapt depending on what you want to do. In this window you can change the height, width and color of the line you have placed on the page Word. Likewise, in this options panel you can make multiple changes within the line you placed.
With these simple instructions you will be able to insert a line anywhere in your Word document, as well as being able to edit it so that the new line matches the text that was placed there. Always remember to respect the APA standard in Word so that your project within this program is a success.


