


Be that as it may, it is a field to get work from. For this, many professionals in the area tend to use Adobe Photoshop. This is a program that although it was originally meant to be used with image editing in mind such as cropping or resizing them, there are actually many illustrated people who use it to disegnare and for many other things.
It is indeed a very complex program that comes with its own accessories that can be used on an image whenever needed. And, while it's usually a paid program, it's really very comprehensive.
With Adobe Photoshop, you can do a little bit of everything. If you have an image that you would like to enhance or modify in any way you want, this program will be your friend. The sky is the limit in these cases, so you just need enough creativity.
And, if you have it, you may want to add a nice outline or border to your images in Photoshop. It always ends up being a good final detail for an image, so you can add this nice detail without losing the image quality through the tutorial which we present below.

Add a border to any image in Photoshop
Once you've downloaded and installed Photoshop on your computer, there's a lot you can do with the program. Among those things is the ability to add a border, which really stands out as a nice mod detail if you're good enough creative. All you need to do to add a border to an image is the following:
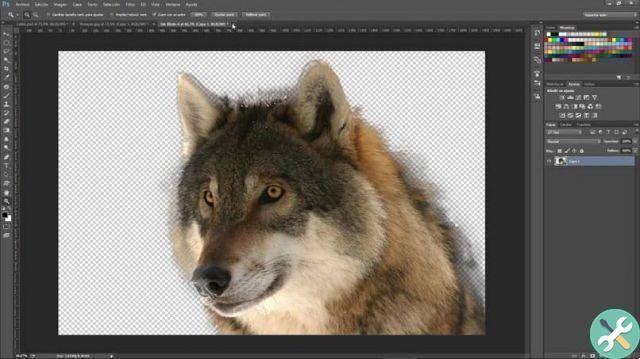
- Start by opening the Adobe Photoshop program on your computer. And, through its menu, open the image you want to edit with a border.
- Next, you need to choose the area where you want the border to appear. For this, use the Selection tool to be able to select the entire area where you want that edge.
- Once this is ready, in the selection menu you have made you have to click on Modification and then enter the menu Board. Here, you need to choose the pixel size you want to use for the border.
- Now you just need to add a border color with the color menu you have on the left side of the screen. Also, remember that you can use the menu Modification to fill it if you wish.
- Remember, if the final result of the border you inserted in the image is not adequate, you can always press the Cancel button to be able to start over. You can press ctrl + Z for this.
- Once the border is ready and you are satisfied with the result, you can directly save the image.
The little details
To create a border that you are happy with, you need to remember that the larger the pixel you select in the edition of it, the thicker Sara il bordo. Also, remember that you can put different visual effects on your border within the Fill menu, such as the option Dissolved gli gives a good final effect.
TagsPhotoshop


