Nowadays, performing office automation tasks is quite common for both business and study purposes. That is why it is essential to have a reliable program that allows us to write the text in an enriched way. Many people choose to use Word by default on their computer.
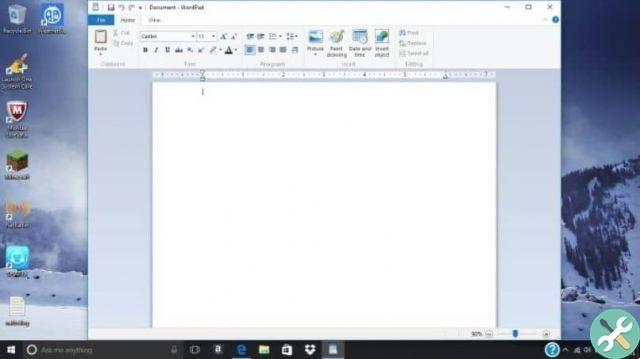
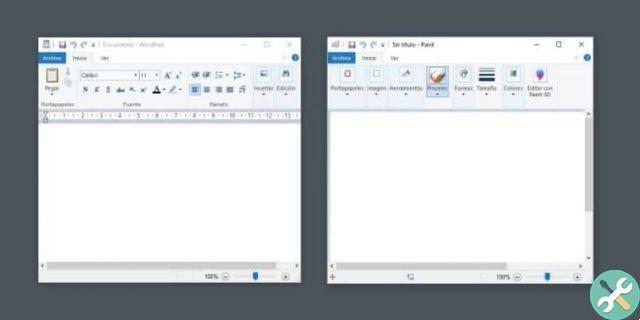
However, for those people who don't need as many features as Word offers, there is an alternative which is already installed with Windows and it is WordPad.
Although it's not a very advanced tool like Word. It offers a number of useful tools to quickly edit text files in a fairly simple and intuitive environment. And you also have the ability to convert WordPad files to Word without any hassle.
However, it cannot be denied that this is a very little used program in general terms. In case you don't use it at all and want to save some space, it's best to uninstall it directly from Windows.
Doing it is a simple process and in case you want to reinstall it, don't worry as it is also very easy to do and we will show you how to do these two tasks a little further down.

How to install or uninstall WordPad in Windows 10
- You have to go to the menu " Start "And then to the section" Settings »Accessed by pressing the gear icon on the left side of the menu» Start «.
- In the window » Settings »You will have to go to the section" Applications "And so we have to go up" Applications and features »In the left sidebar of the screen.
- Then we have to press on the option " Optional features «.
- Various functions of the operating system are displayed. Here we have to search " WordPad «.
- Once located we will click on WordPad and you will see that a gray button appears just below that says » Uninstall «.
- WordPad and an uninstall bar will appear at the top of this section, when the program is complete it will no longer be available in Windows 10.

How to install or activate WordPad in Windows 10
- In case you want to install or reactivate WordPad, what you need to do is go to Start> Settings> Applications> Applications and Features in the left sidebar and in this section we will go to " Optional features «.
- Here we can see a button at the top that says " Add a feature ". Click this button and a new window will open.
- In this section you can find a large number of Windows 10 features. Including WordPad. You just have to find it and mark the square icon to its left.
- Once this is done, all that remains is to click on the button " Install »On the left to start the installation process and be available again as usual in Windows 10.
As mentioned above, WordPad isn't as advanced as Word, which allows us to easily insert, edit, and edit images among other very cool options.
WordPad itself doesn't even have a spell checker, something that many of us come in handy, that Word has and itself is one of the best you'll find today.
The process to install or uninstall WordPad in Windows 10 is extremely simple and shouldn't take more than a few minutes. This operation can also be performed with all applications installed by default in the Microsoft operating system.
If you find yourself with the problem of not saving your Wordpad file, don't worry that by following these steps you will be able to recover the files.
TagsTaccuino


