


Knowing how to use an image editing program is vital for a graphic designer designer of or an editor. Whether you're editing for a website, for a client, or to create fun images for your friends, being able to master an editing program is extremely important.
This is what distinguishes people who have a product mediocre finish from those that have a great professional touch in this work. This is why you need to know how to use every little tool that may be in a program editing.
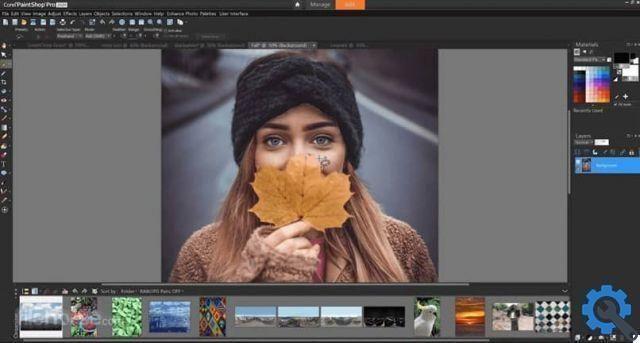
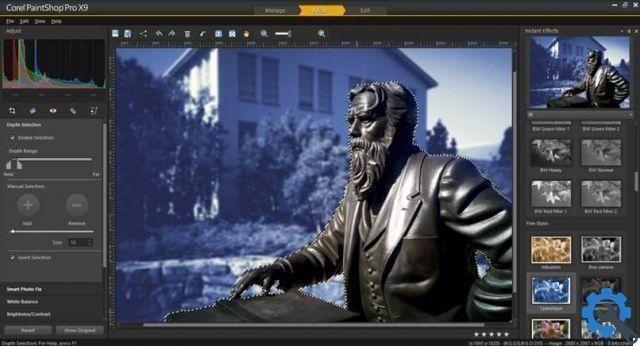
Corel PhotoPaint is an excellent example of this. It is a fairly simple program to use and its user interface is also quite intuitive. This same convenience has earned it a loyal base of fans and users who have preferred its use to Adobe Photoshop.
But, like any other editing program, this one has its own ways of doing its thing and working thanks to its templates, as well as creating your own brushes so that you can save and use them whenever you want. It has its own tricks and ways of using the different ones instruments that has. Therefore, we invite you to see the following tutorial we made for you about adding brush strokes to paths. This will increase your knowledge of the program and you can have a more professional touch.
Add a brush stroke to a path
Un percorso is a series of segmented lines connected by nodes. They are quite useful when it comes to putting things in a certain margin. You can do all kinds of things with a path and they are also very easy to create because you can do it freehand or even through a mask.
And one of the best things about using a path is the ability to create brush strokes along it. We can create a path and use it as guide for our brushstrokes. And, while we can do it freehand, you can always use a tool so that the stroke continuously comes out evenly along the path.
So, if you want to do this same process in order to have well done shapes in a path with some color, you can do the following.
- First, you need to create a path using the path tool found in the shape menu of the toolbar.
- Once you have your path ready, with the shape you want, you will have to choose the tool you want to travel along the path. Anyone can use the toolbar from images of the disseminator tool or any brush you want.
- Select the tool you want to use for the path e modify it in terms of size, sequence, color, opacity or any detail that you think is relevant.
- Now when you have the tool you want on the path in hand, right click on the path and then click on the option “Brushstroke along the way ". As soon as you do this, the path will come out with the brush stroke you wanted along evenly.
How to import or export a route?
Once you've done what you want with a particular course you created, you can have it erased and lost forever. But in case you want to save it for other projects because it is useful or because it took you a long time to do, you can do the following:
- To export it, you can go to the right side of the screen where the route menu is. This menu can be changed in the settings of these menu in so that the routes are displayed.
- Once you're here, click the little black arrow at the top of the menu and click Export Track to save the track to a folder.
- Now, to import it, you have to perform the same procedure, only you will have to click on the import path option to be able to open it in your document Corel PhotoPaint.


