


Although the most common is that of connect the devices to a router or a Wi-Fi access point, sometimes this does not have the necessary power so that the coverage can cover all the places in the house or the place where it is connected.
In these cases it is advisable to use a repeater or an access point where coverage is poor. However, if you have a computer connected by cable, you can create a Wi-Fi access point with which to share the Internet from the same computer.
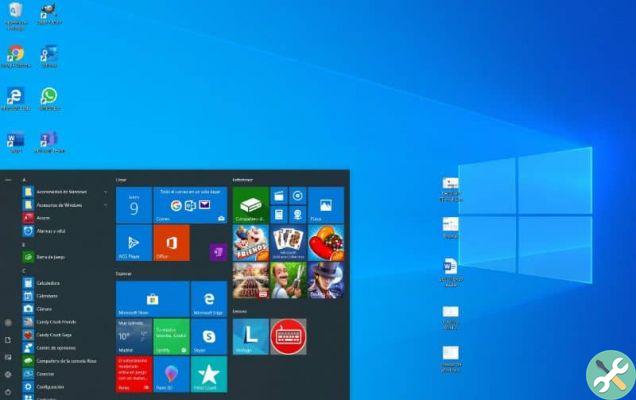
There are many ways to do this. The simplest is to do it directly from the Wi-Fi network. This is done by pressing the connections icon and then pressing the Mobile Covered Area option.
And if what you want is to configure it, with the right button you can press go to Configuration. There you can choose the network name and password. You can also choose whether to connect via Wi-Fi o Bluetooth.
From there, the option for other devices to connect directly from your computer. Quick and easy.
How to create an access point from a Wi-Fi card and a network card?
The first thing you should have is a Windows 10 computer connected to the internet via the Ethernet cable. In addition, one is also required scheda Wi-Fi to create the access point. Then you need to download and install the WIFI network driver.
In order for the computer connection to be shared via Wi-Fi, a bridge must be created between the Internet, the Ethernet, and the two cards.
This is achieved by accessing the network and internet settings open, for this you need to press the right mouse button on the connections icon. So, let's choose the Ethernet option. So in changing the adapter options.
Once there, you need to press the Ethernet option and the Wi-Fi tab named Wi-Fi 2 or Wi-Fi 3. Right-click on them and select the Bridge Connections option.
Windows will begin the configuration process and a new connection called Ethernet 3 will appear. Then, all that remains is to create and configure the access point to this.
What is the ad-hoc access point and how to create it?

La net ad-hoc allows devices on a network to share information with each other and also have access to the Internet. When you have this type of network, the central point is eliminated and the computers communicate directly with each other.
With this in mind, to create an ad hoc access point, you need to use the MS-DOS window. First, you need to know the interfaces of the Wi-Fi networks connected to your computer. Therefore, you need to access the CMD window.
The CMD or Command Prompt window allows you to run codes, it's a very useful command line and to get essential computer settings. To run it you just have to press the Windows key + R, type cmd and hit enter.
When it's already done, let's write the netsh wlan show drivers and we'll see the different cards available on the computer. The Supported Hosted Network option must be set to yes to run.
So, in the same window MS-DOS (CMD) we write netsh wlan set hostednetwork mode = allow ssid = (Network name) key = (Password). After that, your network will be set up.
It will remain only to enable it. We do this by typing netsh wlan start hostednetwork and voila. We can start using our access point. And if you want to stop its working sometime, you just have to type netsh wlan stop hostednetwork. If you still don't have Windows activated and you want to know how to activate Windows 10 permanently without programs, you can read this article.


