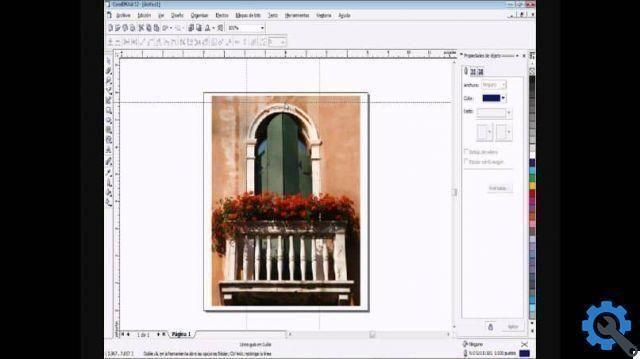
When we work with Corel Draw we can use a large number of models which can simplify the work we are doing. What if we told you that you can create and customize your own templates. Because our goal is that you know all the functions that this application offers. We offer you the following tutorial which will teach you how to create or design a custom template in Corel Draw, in a very simple way.

It is also possible that the pre-established templates in the program do not meet the needs of certain projects you need to make. In this sense, Corel Draw offers you the possibility to create custom templates. But first we want to show you how easy it is to reflect, skew, resize and position objects with Corel Draw.
How to create or design a custom template in Corel Draw
When let's create and save a modelWhile we may also use templates for free, it may contain certain data that will be used as a reference. For example, the folds, number of pages, category or notes you want to add. We need to do this to organize our templates and find them faster.
When a model is created, we can't just add objects such as images, text, vectors or artistic media. You can also specify some characteristics, such as color palette, page layout, font, etc. In the next template we will create, we will customize the footer and header.
create or design a custom template in Corel Draw, what we need to do first is create a blank sheet. And we configure the design of the sheet so that it is preferably A4, portrait orientation. So we need to include the guidelines, for this we need to select the Options icon on the property bar and add the horizontal and vertical guide parameters.
Now we need to add the elements that will be in the header and footer, in the header we can put a vector that can be a drawing. You can also insert text or a company logo. And you can also add lines using the two-point line tool, found in the Tools menu.
You can also use the Artistic Medium tool, to make it better, once we're done creating our model, we need to save it. But first we need to configure the print options and color palette options. After this step, we will go to the File tab and then click on Save as Template.
How to save the custom model we created in Corel Draw
Now in the save window, let's give a model name and the type will be saved as a Corel Draw CDT template. By default, the program saves the template in the Templates folder. But we can group our models in another folder, so that it is easier to locate them and have them all in the same place, to finish we click on Save.
The last step will be to specify the Model Properties, here we can give the model a name. We can also add data such as Faces, Types, Category, Sector, Folds and Designer Notes. When we have added all this information, we click on the Accept option and in this way we have created ours custom model.
When we start a job and need to find a template we have created, we simply go to the File tab of the main menu. Then we click on the option New with template, we wait for the window to appear and in it we will see that there is a new category called My templates.

We click on this option and all those templates we created will appear, select the template we need and click Open. And in this way we have concluded a very interesting tutorial that will help us a lot in the development of the models. And in a very simple way we learned to create or design a custom template in Corel Draw.


