


Illustrator is part of the Adobe family where we can work seamlessly with applications such as Creative cloud, InDesign, XD e Premiere Pro. Adobe Illustrator is available in a free 7-day version for Windows and Mac OS, offering four different plans to suit your needs.
Remember that you have to enter the official website of Adobe Illustrator to proceed with the download of the program in its free version and, once the free trial period has expired, you will be able to access the purchase Adobe Illustrator subscription or download another Adobe family program associated with your project.
In addition to its official website you will have technical assistance with introduction and help on the subscription and its concepts, tutorials for new users and a guide with basic answers and instructions for its free installation and also a community where you can express your doubts and resolve them with other members using Adobe Illustrator.
In this step by step you will discover how to create shapes in the easiest and fastest way, using this tool in Adobe Illustrator.
How to create shapes with the “shape maker” tool?
- First we need to go into Adobe Illustrator and open a new blank document.
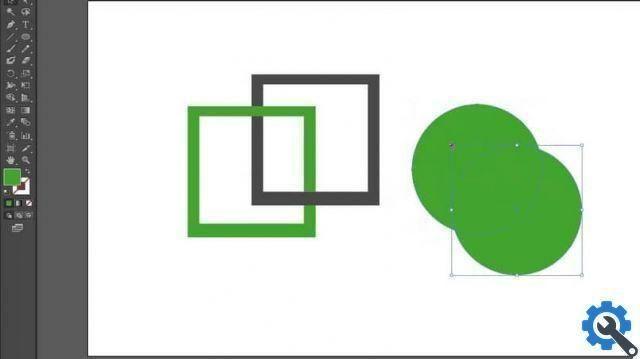
- We will create a shape to which we will then apply the tool.
- Click on the tool "Selection" and select the strokes that need to be combined to create the shape.
- With the tool “Shape Creator” which is in the toolbox or using the shortcut SHIFT + M, where it will allow us in combination mode to work on the strokes, we must select the region that we need to extract or combine.
- If you want to extract this region, we just have to move the pointer and click on the selected region to proceed with its deletion.
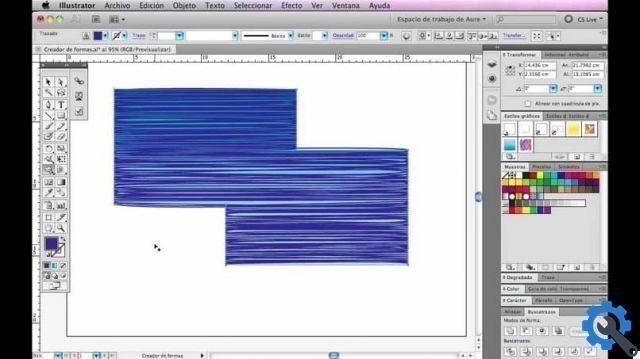
- If we want to combine the strokes inside the shape, we have to drag the pointer along the region and when we release the click, these two regions will be combined, creating a new shape.
- When we join two strokes we get a unique shape within our project, keep in mind that if we make the wrong regions we can go back to the previous step with the tool "Cancel" (Ctrl + Z).
Consider:
- The style of the shape, that is, if our shape at the beginning has a color or a sequence of graphics inside, the new shape will be able to inherit the same style.
- How to delete the tool “Shape Creator” provides us with the utility of eliminating a closed region within the selected shape,
- When combining strokes and obtaining a unique shape, we must keep in mind that when deleting this region the new shape will be completely deleted, in the deletion mode you have the possibility to delete the edges and this allows us to be useful when creating a new one. form there are remaining unused sections.
With this step by step you have learned how to use Adobe Illustrator's "shape creator" tool in a complete and fast way to enhance your projects and get the most out of this program. You can also use line tools, simple shapes, eraser pens, scissors and blades to help you make shapes easier.
If you are interested in learning more about Adobe Illustrator and its tools, I invite you to continue on Miracomosehace.com and also to know other programs of the family Adobe like Adobe Photoshop, Adobe Indesign, Adobe Premiere Pro e Adobe XD.


