


Current technology allows us to share much of what we think and see, both through the most popular social networks and with different electronic devices that help us capture all kinds of moments.
This has meant that anyone with a mobile or a computer can make the world known about it, and thus make other people interact with it.
In turn, this can vary in different ways and we can see it in YouTube videos, streams or all kinds of media that are uploaded to the internet daily.
However, it's usually a little easier on a mobile device than on a computer, as with a mobile you can record video wherever you are, or take an amazing photo and instantly upload it to the internet or that person's network social preference.
But that doesn't mean that the computer doesn't have its own ways to be able to share what you see at that precise moment, as happens with screenshots that at first could only be done comfortably on a mobile phone.
It has always been possible to take screenshots to a computer using the " Print screen ”, which does copy a screenshot of the screen to the clipboard, but it was only with some previous versions of Windows that it was possible to edit them conveniently.
For a long time people have used Paint or some other program to be able to edit them, but from Windows Vista you can use other tools, such as the capture the screen that I'm in Windows 10, which we will tell you about below so that you know how to use them.
Screen capture in Windows 10
When we talk about Screen Snip, we are not referring to a particular tool, but to a set of tools that you can use from Windows 10 to take a screenshot and possibly modify them according to the user's needs.
They become quite useful for many people who need to share what they see in that moment or to save a particular moment.
However, each of these instruments it works differently depending on what the user needs at that moment in terms of screenshots, as a screenshot will not always be aesthetically pleasing on a social network if it is uploaded in full.
Windows 10 screenshot tools
If you want to take a screenshot in Windows 10, the operating system has several easy-to-use and easy-to-use tools that you can use for that.
Note that you can access them all via the Start menu, but you can also search for them in the Windows 10 search bar without any problem.
And, if by any chance you are missing some tools, you can go to the Windows application repository or search the Internet and download them for free.
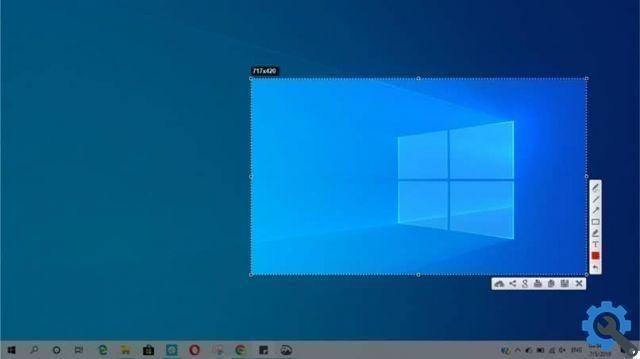
Now, we can start talking about Snip & Sketch, an easily accessible tool that when used will bring up a menu at the top with the different tools needed to take a screenshot and write on it if you need them.
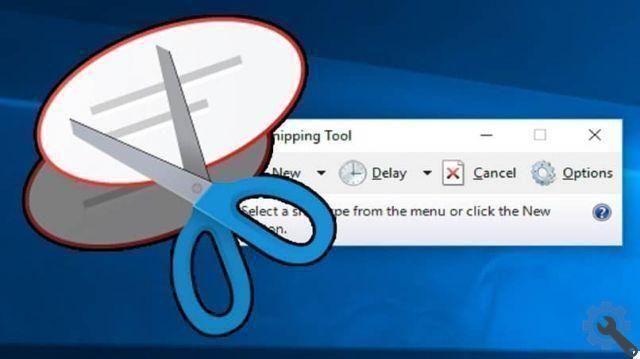
However, this tool lacks the function of acquiring full screen captures, how it lets you do it Tool of capture, which is another easy-to-find tool that you need to use manually, using the menu to perform a type of capture. then save it once done.
You can also use other options such as the key Windows + Print Screen to save a screenshot in the screenshot folder. Alternatively, use the of Windows key + shift + S who will perform the Snip screen action and then capture a screen through Snip & Sketch.


