How to go from 24 to 12 hours with Windows 10 quickly and easily
To be able to change the time format from 24 to 12, start by opening the control panel, find and select “Clock and region ". The next step is to click on “Set date and time”.
A window will open in which you can change aspects such as choosing the time zone and changing the date and time. You have to go to the latter option and click on it.
A window with a calendar and a clock will open again. At the bottom there is a button " Change your calendar settings ”Which we need to click.
Then you have to look for the card in the new window " Time “, You can see it at the top of the window. From there, you can change the time format as you wish. To do this, you need to rely on the references you have at the bottom of the window.
To switch from 24 to 12 hour format, you have to write in the first field, " Now short ", Below the examples that show you the following: “H: mm tt”, or in the field "Long hour" as follows: “H: mm: ss tt”.
The short hour, as the name suggests, only shows us the hour and minutes, while the long hour also adds the seconds.
In the following fields " AM ”e“ PM ” choose how you prefer them to be. When you have finished making all the changes, click on the " Restore "And then on" OK ”To close and save the changes.
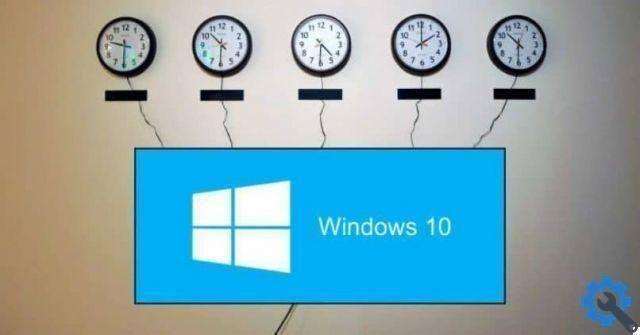
If you wish, you can get not only the time of your country, but also that of any country by downloading the world clock with time zones.

How to change the date and time manually
In case you don't know, you can change the date and time on your Windows 10 computer. While it's true that your operating system uses your internet connection to automatically set the date and time so you don't having to do anything. If you don't want it to sync automatically, you can disable automatic Windows syncing.
However, it may happen that you have traveled with your notebook and due to the difference in time changes that may exist from one city to another, these changes have not been updated on your computer.
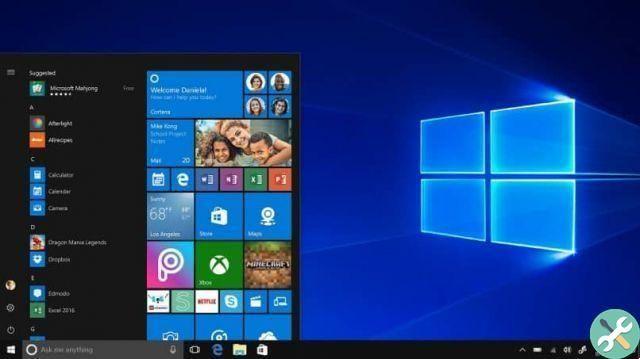
In this case we have to correct them manually, but don't worry, the procedure is very simple to perform. To start, click on the start icon, for this you can press the " Windows ”Or go directly with the mouse and click on it.
So you have to enter the " Settings “, If you can't find it, you can type it in the search bar you have at the bottom of the menu.
A window with several options will open. You must find and select "Time and language", it is represented by a " A and a watch ". When you click on it, a window will open again.
Find the option " Adjust automatically " and click on it, in this way we will deactivate it. If you pay attention, now you have the button " Change "Activated. Click on it.
The next thing will be to change the date and time. Choose the date and time you want to configure in your Windows 10. When you have finished making all the changes, click on " Change ”To close and save the changes.


