If you want to start creating content using this platform, it's your lucky day, because we will teach you how customize your channel design (also edit your channel cover photo), create sections and organize each step of the video by step.
How to sort videos from a YouTube channel?
If you want to customize the order of your YouTube channel, the platform currently presents you with several options to make it easier for your subscribers to use your content in the order you want to program it. It is recommended to always place them in chronological order , from the most recent to the oldest, so as not to confuse the viewer if you have related videos.
You also have the ability to create playlists, to differentiate one content from another, this is the more viable option if there are video series on the same topic on your channel .
How to design sections on a YouTube channel?
It may be that when you create your sections you decide to change for some content in that section, we know that when you start creating content, ideas can evolve until they reach the desired result. To be able to edit your sections on YouTube you need to follow these steps:
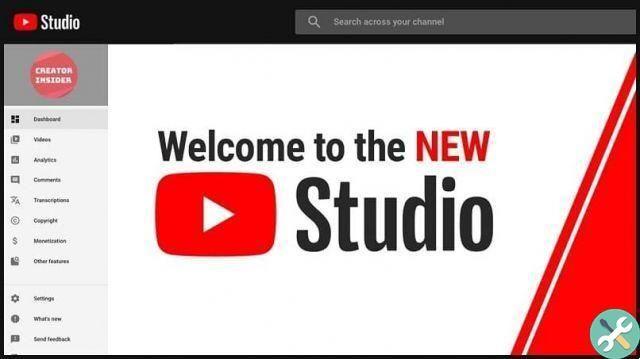
- Entra in YouTube Studio.
- Find the menu on the left, press it and select the "Personalization" option.
- Now select «Design».
- Now, click on options, it is the row of three horizontal dots, you can find it in any of the sections you want to change.
- Then select the option » Edit section content «.
- In the edit screen you will have the option to edit the content of your section as you wish.
- To save, click » Public «.
Create and organize featured sections
There is nothing better than providing your viewers with organized sections where they can choose which videos to watch. If you still don't know very well how to create a YouTube section, don't worry, here we show you how to do it by following these steps:
- The first step in creating a YouTube section is in accessing al your YouTube Studio account.
- Go to the menu on the left and select "Personalization".
- Select the "Design" option, there you will find the "Add section" option, select it.
- Then use the down arrow and select all the videos you want to insert in your new section. In this option you will find your videos, popular uploads, playlists and channels.
- For the final step, click "Publish".
As you can see, it is very easy to create sections in your YouTube channel, we recommend that you have the ideas for the section you want to create very well raised, because in this way you will avoid editing and modifying each of the sections. Still not sure how to edit a section? Relax, here we show you how to do it.
Change the order of the videos
Keeping content sorted is essential when it comes to providing good professional-grade YouTube content, the option to sort appears the moment you post a video, but if you want reorder it to improve your channel, follow these steps:
- Log in to your username in YouTube Studio.
- In the menu on the left press «personalization».
- Then select «Design».
- Click on the vertical bar and drag the videos into the desired order.
- As a final step, click Publish and all changes made will be saved.
Choose a main video
YouTube currently offers you the option to choose a video that will automatically play when you log into your channel, as a slideshow. To be able to place a video as "main" devi alone go to your channel and go to the "customize channel" option and click the pencil in the top corner, once here you need to choose the one you want to play your video list from at the beginning. After selecting, you just have to save your changes and that's it.
How to change the order of all videos?
If you want to change the order YouTube gives your videos by default, in this article will tell you how to do it quickly and easily , you just need to follow the steps below: The first thing you should do is go to your YouTube channel, specifically the tab where your videos are located.

At the top of the channel you will see the 'sort by' option which you will click on and a list with three options will be displayed, among which we can see 'most popular' which will show your videos with the most plays first , 'Date of inclusion' or the common chronological order showing from oldest to newest videos, and finally 'Date of inclusion' which will show in order from newest to oldest. Once you have chosen the option you prefer, the videos will automatically take this order.
Place sections in evidence
Customizing your YouTube channel design is important for retaining and attracting loyal users, from the best video to creating the best thumbnail for your channel. Checking your sections in order will allow you to make it easier for the viewer to enjoy the content you publish in order. One way to help your users enjoy your content is to place the most important sections.
The YouTube platform only allows you to enter a maximum of 10 featured sections, which you can select by default. Just follow these steps:
- Vai a YouTube Studio.
- Select the menu on the left side of the platform and select "customize".
- Select «Design».
- In the section options, press the button » Select the highlighted sections «, Select the ones you want.
- And finally select "Publish" so that all changes are saved correctly.
Now that you know how to create sections on your YouTube channel, nothing can stop you from developing yourself and lead you to fame with your unique and enhanced content.
TagsYoutube