


What is Photoshop and what is it for? The Photoshop program is a program designed by the graphics systems company Adobe. This program is a cross-platform one focuses on the treatment of ordinary images and on the application of various effects for their transformation.
Adobe Photoshop allows users to edit images by applying a large number of tools and filters. It is the most complete program in terms of creating optical illusions and graphic retouching, the artist can correct some aspects of the shots or transform all their content using the tools to align and center texts, images and objects, remove reflection, resize images, among the others.
How do you do the particle dispersion effect in Adobe Photoshop?
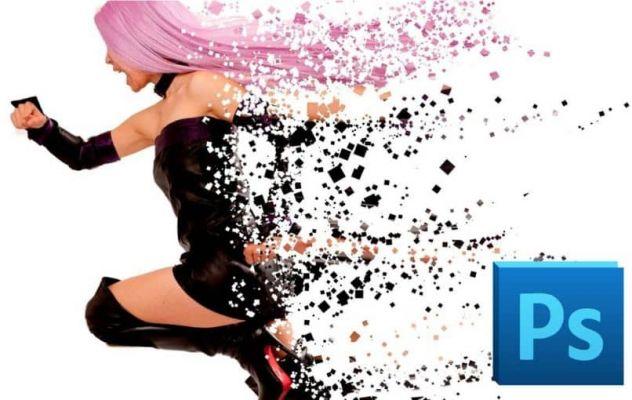
There is a well-known Adobe Photoshop tool in the industry, it is the so-called dispersion effect. It consists of an edition in the image that recalls the progressive disintegration of forms and figures. Either in dust particles or other options.
To apply this effect it is not necessary to have great knowledge in the sector or be a master on the subject. Today we show you how to perform the dispersion effect.
Steps to create the particle scattering effect in Adobe Photoshop
The first thing to do is to duplicate the layer that contains the image. You can do this by clicking on the secondary button and selecting the option "Duplicate Layer" or by pressing i tasti CTRL + “J” to do it directly.
Once duplicated, you need to disable the visibility of the upper level and select the bottom layer or copy, now you need to draw an outline around the edges or figure of the person or object in question. To do this, click on the toolbar on the left of the screen and select the option "Lasso tool". Then make the outline (this shouldn't be exact).
Right click and select the option "Fill / Content", then in the split choose the option "Second / Content". Then press the Ctrl + “D” keys to cancel the selection. The program automatically shows the content it created for us, instead of the parts of the figure that we remove with the “Particle Brush”.
Turn top layer visibility back on and select "Speed dial" in the toolbar, it is located in the tool panel on the left.
Next, draw an outline of the edges of the figure and right click, then choose the option "Apply mask". You can use the brush to refine the edges and enhance the selection. Finally, click "Layer Mask" and select "Ok".
Dispersion effect
Now you can create the scatter effect. Because of this we will create two levels again. In one we will create the dispersion effect same; while in the other it is create the effect of disintegrating particles on the model. To do this, you need to follow the following steps:
- Select the layer that has the mask and make a copy (for this use the letters Ctrl + J)
- Right-click on the layer mask and select "Apply Layer Mask", rename it and type "Dispersion".
- Now duplicate the “Scatter” layer and change its name to "Template".
- For the result to be adequate, you need to have the layers in the following order:
- Visible model layer.
- Visible dispersion level.
- Layer with the mask not visible.
- Visible undercoat.
Create the dispersion effect
- You need to select the level "Dispersion", click on the menu, select the effects and then click “Liquifa”
- Click on the tool “Warp Forward” to choose the orientation in which you want to create the scatter effect. "
- Press the button Alt + Maschera to apply black color to the layer "Dispersion".
- Then click on the layer "Template", make a copy and select it.
- Click on the toolbar, choose "Brush" and select the black color for the brush.

- Choose brushes for eraser, type of particles of different sizes. You can rotate as you apply to create a better finish.
Finally, you can try different effects to practice and give each image a much more genuine and personal touch.


