


Canva is a highly recommended image and video editor. Anything you can imagine can be created, as it has a wide variety of tools to make your creations look great (you can even create a pixel effect with it). Today we will tell you how to insert animations on photos using Canva.
With Canva you can create different posts, whether you want to use it as a hobby and share your productions on your social networks, or whether you want to use this tool to create or design a modern logo for your company or business.
And the best part is that there is no need to download an application, as all editions work from its website and is compatible with desktop and mobile devices. You have no more excuses to use Canva, you can use it where, when and from any device you want.
How to get started with the Canva editor quickly and easily
start using the Canva editor, go to their website and log in with your account. In case you haven't created a profile yet, you can do so using the information from your Facebook or Google account.
Once inside, look at the menu on your left and click on Create a design and choose one of the designs, if you want to create animations for social networks (like Instagram) or whatever you can think of. With this you can choose the size of the design sheet.
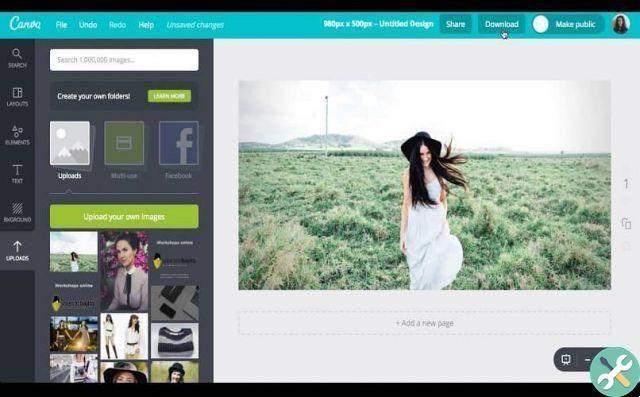
Once you've chosen an editing type, a new tab will open where you can make any changes you want without worrying about losing the original image, as Canva saves all the files you share in their original format so you can access them. him when you need him.
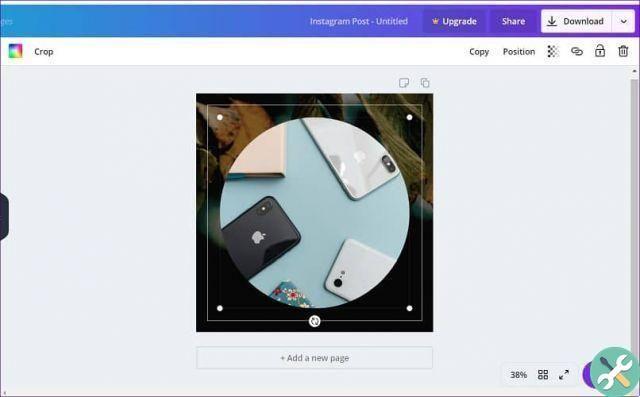
In case you want to edit an image that you have stored in the gallery of your device, you need to click on the Uploaded Files tab and then click Upload Image or Video. Alternatively, you can choose one of the images Canva offers you from the Photos tab.
Whichever option you choose, to bring it to the edit sheet, click on the image or drag it to the sheet in the center to start applying the changes.
How to insert animations on photos with Canva in just a few steps
Once you have the image or photograph and the dimensions you want to use for your presentation in the edit sheet, let's see how to insert animations on them in a few steps.
From the menu on the left we must now select the animations we want to add to them. To do this, go to the Elements tab and then look for the Decals section. Click See All to see all the options Canva has to offer.
Another way to search for animations is by typing in the search bar of the Elements menu: "Scribble Stickers" or "Music Stickers". When you have chosen one, click on it to bring it to the center. Now you just have to fix it in the image, until it's the way you want it.
You can resize, crop or rotate and add as many animations as you like. If you want add music, you can do it too. To do this, go to the Music tab you have on the left of the screen.
Choose some of the alternatives that Canva offers you. To play it, click on the Play icon and to add it, click on its name.
Once you have the track in the edit sheet , you can choose a fragment to play, from the soundbar with the track you have at the top of the screen.
When you're done making all the changes, click Download Video. It is located in the upper right corner of the screen. Choose some of the formats and wait for the process to finish. Now select the file path and save it. This way you will have already inserted animations on the photos using Canva in simple steps.
TagsCanva


