what streaming her Twitch it's very simple, but making it more visual and being able to have your followers happier and amazed with your live shows can be achieved creating an "overlay", i.e. a kind of interface that overlays the stream so that your followers see it.
Thanks to the overlays we can have a much livelier broadcast, because your followers will not only see your screen, but they will be able to see a number of graphics and animations on the screen at the same time.
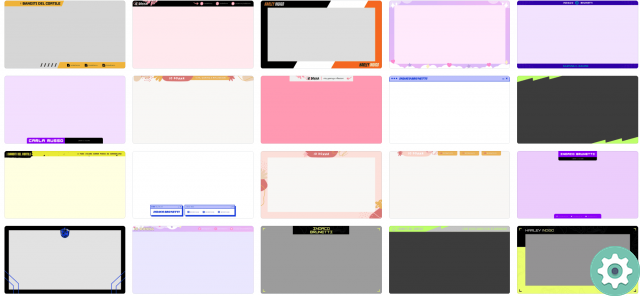
Create an overlay in Photoshop
Lo main tool we need will be Photoshop or any program that allows us to edit images in PNG format, since it will be the final format that our overlay file will have, since we need of images compatible with the web and which also have the characteristic transparency. Follow these steps below to create an overlay like the one you saw earlier:
- The first thing you will need is one screenshot when you are playing, to check all the elements we have on the screen and see how we want our overlay.
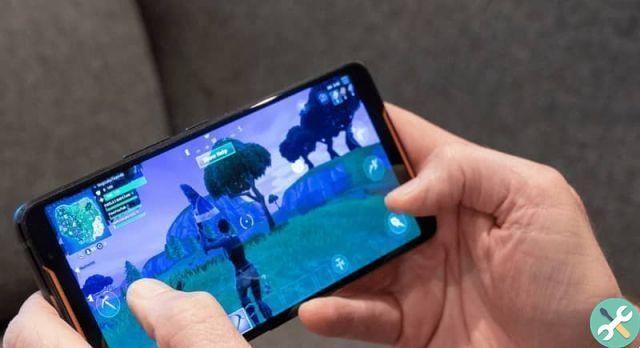
- In our case we have chosen Minecraft, we will take a screenshot within the game.
- We will now have to open said capture in Photoshop, we will press "File" e "You open".
- Next we'll start creating our overlay, we've chosen to put in the lower part the block of earth and grass which Minecraft has.
- Mostly you have to have a lot of patience because it takes a lot of time and resources as well as imagination.
- Now that we've finished the bottom part, we'll put on the top part, we've used the rock block, so that everything is related to our game.
- Time we add decorative elements like two Minecraft characters and other blocks.
- The next thing will be add our webcam box since streaming with a webcam has better audience results, for this we will use a block of dirt and grass and leave it empty to place the webcam later.
- The final touch will be to add more decorative elements, in this case we have added buttons for our social networks and our YouTube channel.
- Once we've created the overlay on our screenshot, we'll have to delete capture level, so that the background is transparent.
- The last step will be save the overlay in PNG format in so that it maintains the transparency property of the background and is also compatible with the web.
Place our overlay in Streamlabs OBS
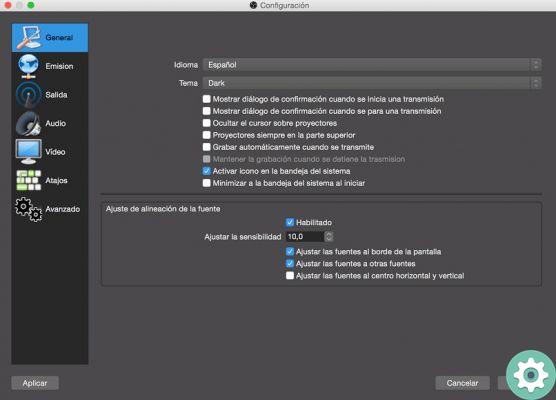
OBS Streamlabs it will be the program that we will use to position our overlay, as well as being the program that allows us to make direct broadcasts and configure all our game broadcasts. If you have not downloaded this program, download it.
- Scarica Streamlabs OBS per Windows
Now follow these steps:
- Now open the program and at the bottom you need to click on the button "+".
- When you have created the scene you can enter any name you want.
- Then click the button "+" to the right.
- Now select "Image".
- The next step will be choose our image, which we created earlier.
- Once the image is selected, we can see our overlay on the screen and add a new scene with game capture so you can see how it looks in our live streams.
Now we know how can we create our own overlays for our live streams on Twitch or other platforms and you can also add videos that loop to create much more amazing effects that your followers will love even more.