It is that since you create an account on Twitch and enter the wonderful world that you will find in this portal, you will not believe everything that is done there. Something that becomes contagious and even more so when you find that many affiliates can make a nice amount of money. And this doing what he likes best and which is nothing more than playing video games.
The truth is not an easy job, but it is possible if you put the time and effort into monetizing Twitch streams. But in this article we will show you what you should know to become an expert on this platform. And in simple steps you will know what you need to do for share or delete clips on Twitch from your PC.
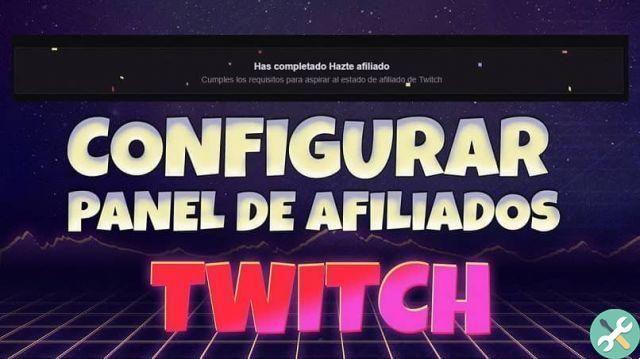
How to create, share or delete clips on Twitch from your PC
Maybe you are one of those who ventured into this world of stream for a short time and you have come across very varied and weird terms that are used on this page. And in this tutorial we will focus on clips, which are no longer short videos showing interesting passages that have been experienced on Twitch, these are shared on networks so that channels or communities grow.
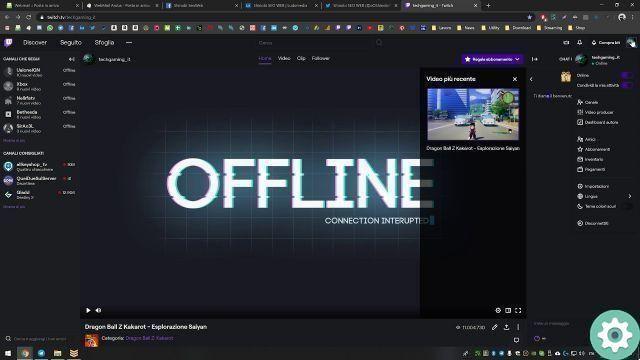
How to create, share or delete clips on Twitch from your PC" src="/images/posts/f5dd9303cf2306adfef5e0700fd8584c-0.jpg">
While it may not seem like it and sharing clips is a very simple task to do, of course as long as you know what steps you should take so you don't complicate your life. So don't miss the details and one more thing, all these steps we're going to do from a personal computer, so let's get started.
Steps to create and share clips on Twitch from PC
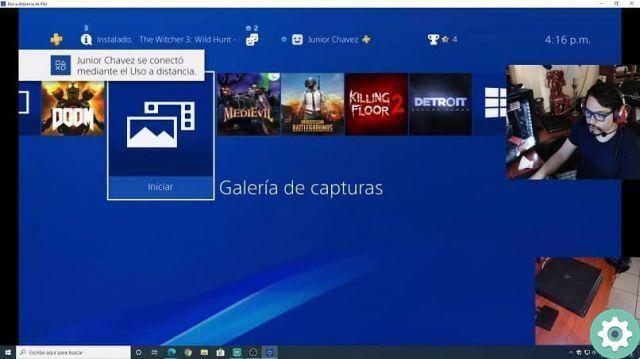
As you might expect, the first step to create and share clips on Twitch is to go to the official Twitch page and start our session. Go to your channel and go to the video player, the next step is to click on the Clip option or icon. This is to start creating the clip, although there are also keyboard shortcuts you can use for this same task.
For example, in Windows you can press the Alt + X keys, once done, the page for creating a clip will be displayed on the screen in a new window. Here you will choose which segment of the video you want to be part of the clip. To do this you will use the scroll bar, the next step is to give the clip a striking and impressive title and finally click Publish.
It is now published and you will be able to see it along with the information accompanying that clip such as the title, author name, date and number of visits. You can now share this clip with other people. You will find a link that leads to the clip, you will also find so-called quick links, which allow you to share the clip on different social networks.
See how simple it is and now you not only know how to stream on Twitch, but you also know how to create a clip and share it with your followers.
Delete a clip
Now, if you want to delete or delete a clip, you need to do as follows. You need to create a clip in the option or icon in the form of a gear if you don't see it, hover your mouse cursor over the video player or go to the three-dot icon.
How to create, share or delete clips on Twitch from your PC" src="/images/posts/f5dd9303cf2306adfef5e0700fd8584c-1.jpg">
Once found, you will be shown the option so that you can delete not only a specific clip but you can also do it in batch and that has to do with the related video. And ready in this way you have deleted the clip. In this way we finish the tutorial which shows you how to create, share or delete clips on Twitch from PC.